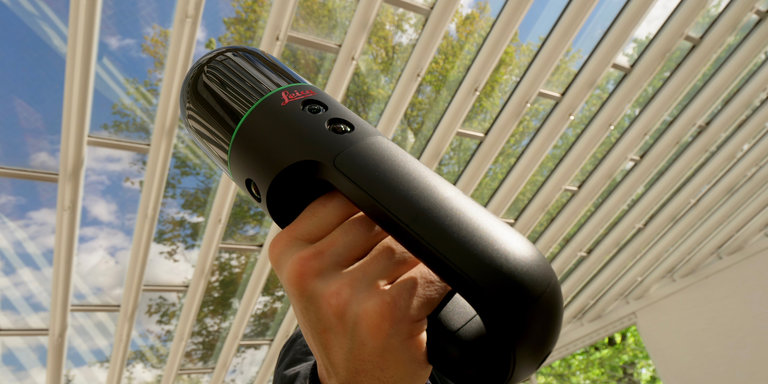
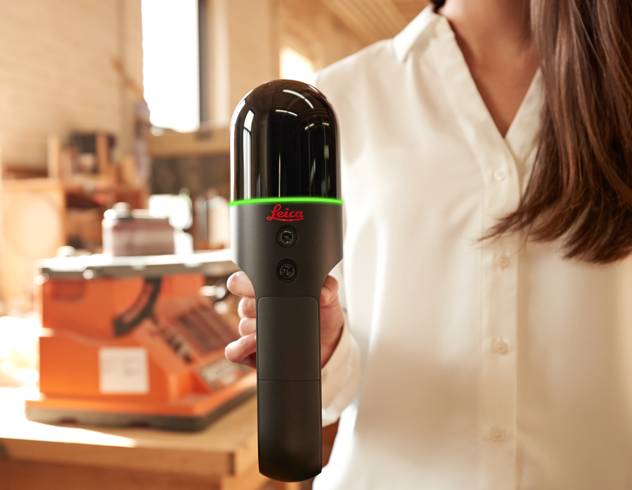
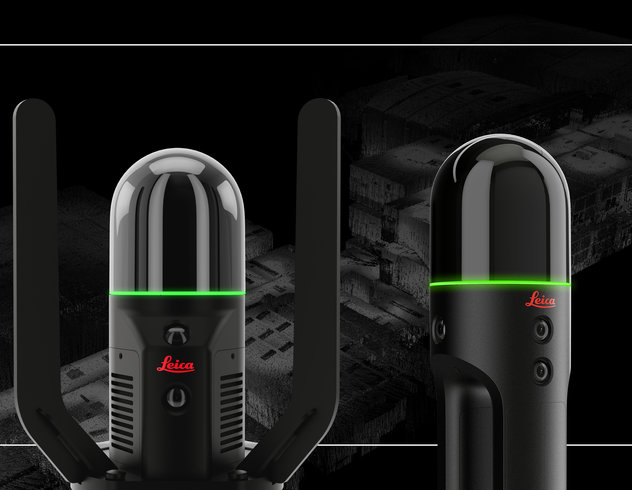
When you pick up a Leica BLK2GO for the first time, you might be surprised at just how quickly you can get up and running, even if you’re a 3D laser scanning veteran. This is especially true if you’re used to a terrestrial, tripod-based scanner. Handheld laser scanners are a different beast, however, and the BLK2GO is a standout in lightweight form and function.
But let’s not break our arms patting ourselves on the back. You’ll see for yourself soon enough. Let’s get you scanning.
 Unboxing and inventory
Anytime you receive a new Leica Geosystems product (or any product from anyone, let’s be honest), check to make sure everything’s there. For the BLK2GO, this includes:
-
Your BLK2GO unit
-
Transportation hardcase
-
3 Lithium-Ion batteries and a multi-charger with AC adapter
-
Table stand and wrist strap
-
USB-C cable
-
Quick guide and USB documentation card
 Charge your batteries
As with any rechargeable battery-powered device, plug-in your adapter and use the multi-charger to fully charge your batteries before using them for the first time. This will ensure a longer, more stable scanning experience.
Check your battery status by pressing the white circle with the battery icon on the underside of the battery. Green indicator lights will illuminate showing you your battery status. Each battery should last you around 45 minutes of scan time, depending on ambient conditions.
 Read the manual and familiarize yourself with the scanner
Your BLK2GO is a remarkably straightforward sensor, but that doesn’t mean you shouldn’t read through the included Quick Guide and User Manual before operating the device for the first time. It goes into great depth on the technical specifications of the device, includes a handy troubleshooting and error guide, and also reminds you not to do things like remove the battery while the device is on (if someone had to write it, someone probably did it at some point!). So: Read the manual.
Then, move on and read through this handy guide to some best practices for using the device.
 Download and register your software
This bit of housekeeping doesn’t technically need to be done before you start scanning (it is a push-button scanner, after all), but you’ll thank yourself later. Here’s a list of software recommended to download.
-
BLK2GO Live app for iOS or Android on your smartphone and/or tablet (Note: Requires iOS 16 or later or Android 10 or up) — this app is essential for viewing your scans in the field in real-time and will make your scanning that much smoother
-
Register for a free Cyclone Cloud account
The BLK Data Manager provides another avenue, along with Cyclone REGISTER 360 PLUS (BLK Edition), for getting scans off your BLK2GO. Meanwhile, Cyclone REGISTER 360 PLUS will help you register your scans after scanning for exporting and meshing and is also the best place to register different types of scan data together — i.e., if you want to combine scans from the Leica BLK360 and BLK2GO together into one dataset.
 Check the firmware
We always recommend checking to make sure you have the latest and greatest firmware on your device before scanning for the first time. This is how our engineers continue to make improvements to the device long after it has left the factory, so you’ll want these updates for optimum performance.
There are two ways you can check your firmware version.
-
Via App: Open up the BLK Live app on your smartphone, power on the device, and pair it to the app when prompted. Click the “Status” menu link, then “More details,” and then find the area that says “BLK2GO Version: Package.” This number will give you the current firmware version.
-
Via Computer: You can also check firmware by plugging the BLK2GO directly into the computer or connecting via Wi-Fi and typing the address 10.1.1.1 into your preferred web browser. This will bring up a home page for the device that displays your firmware version in the bottom left corner as well as let you know if you have the latest version of the device.
If you connect via the computer, you can click the “Firmware Update Page” button from the status screen. Otherwise, visit the BLK2GO firmware page here, which will walk you through the steps necessary to download, install, and update the firmware on the device.
 Watch our tutorial videos
With your setup complete and having rifled through the user manual, you could hit the streets right now. But, if you can spare three minutes and forty seconds of your time, watch this video below with BLK Technical Specialist Andy Fontana to get the best results.
Then, if you want, bookmark this playlist of BLK2GO video tutorials to watch now or come back to later. You’ll be happy you did.
 Do a practice initialization and scan
Before you head out to scan in the field — especially if it’s a job site scan or a busy environment — take a moment to practice powering up and initializing the device. You can do this either with the BLK Live app or without, but the process is similar either way. We recommend using the app simply because once you begin scanning, the live feedback of what you’re scanning is extremely helpful for getting an optimum scan.
Here’s the procedure.
-
Press the power button on the BLK2GO. The LED ring will start flashing yellow to show that it’s booting up before going to a solid green. It’s now ready to initialize, either on its own, or via the BLK Live app.
-
If you’re using the Live app, open it now and connect to the device.
-
If it’s your first time connecting the device to the app, use your smartphone to scan the QR code on the business card that came with your BLK2GO or find the same QR inside the battery housing and scan that or establish an Online Connection using a WLAN network or personal hotspot.
-
With the BLK2GO turned on, the app should now prompt you to connect to the device.
-
-
Initialize the device by placing the BLK2GO on the included table stand and firmly hold it with your hand.
-
Press the power button again and the sensor will begin initializing, flashing yellow again, and pulsing green if it’s successfully initialized and recording data. If you’re using the app, you will begin to see scan data coming in almost immediately.
The app will tell you this, but in case you’re doing push- button scanning, you should be aware that once the device is recording, a short press of the power button will take a photo (or as we call it, a “detail image”) of the area you’re pointing the device at, while a long press will take a panoramic image, all included in your final scan data.
Press the power button again to end your scan. The LED ring will again flash yellow while data is being saved and show a solid green when saving is complete.
 Pack up and head to your scan site for your first full scan
You’ve got the basics down, and you’re ready to go. Pack everything back up in your hardcase and head out for your first scan mission. Happy scanning!
Want to learn more before you start scanning? Check out 3D Laser Scanning Best Practices — the Leica BLK2GO.

