
You've unpacked your new Leica BLK360. The batteries are charged. Your tripod's set up. The software is installed. It's time to take your first scan.
But whether you're a reality capture pro or someone new to laser scanning entirely, every piece of hardware comes with unique features and best practices. Here are some key recommendations from our experts on what to do – and what not to do – to help make your first scans with the BLK360 go as smoothly as possible.
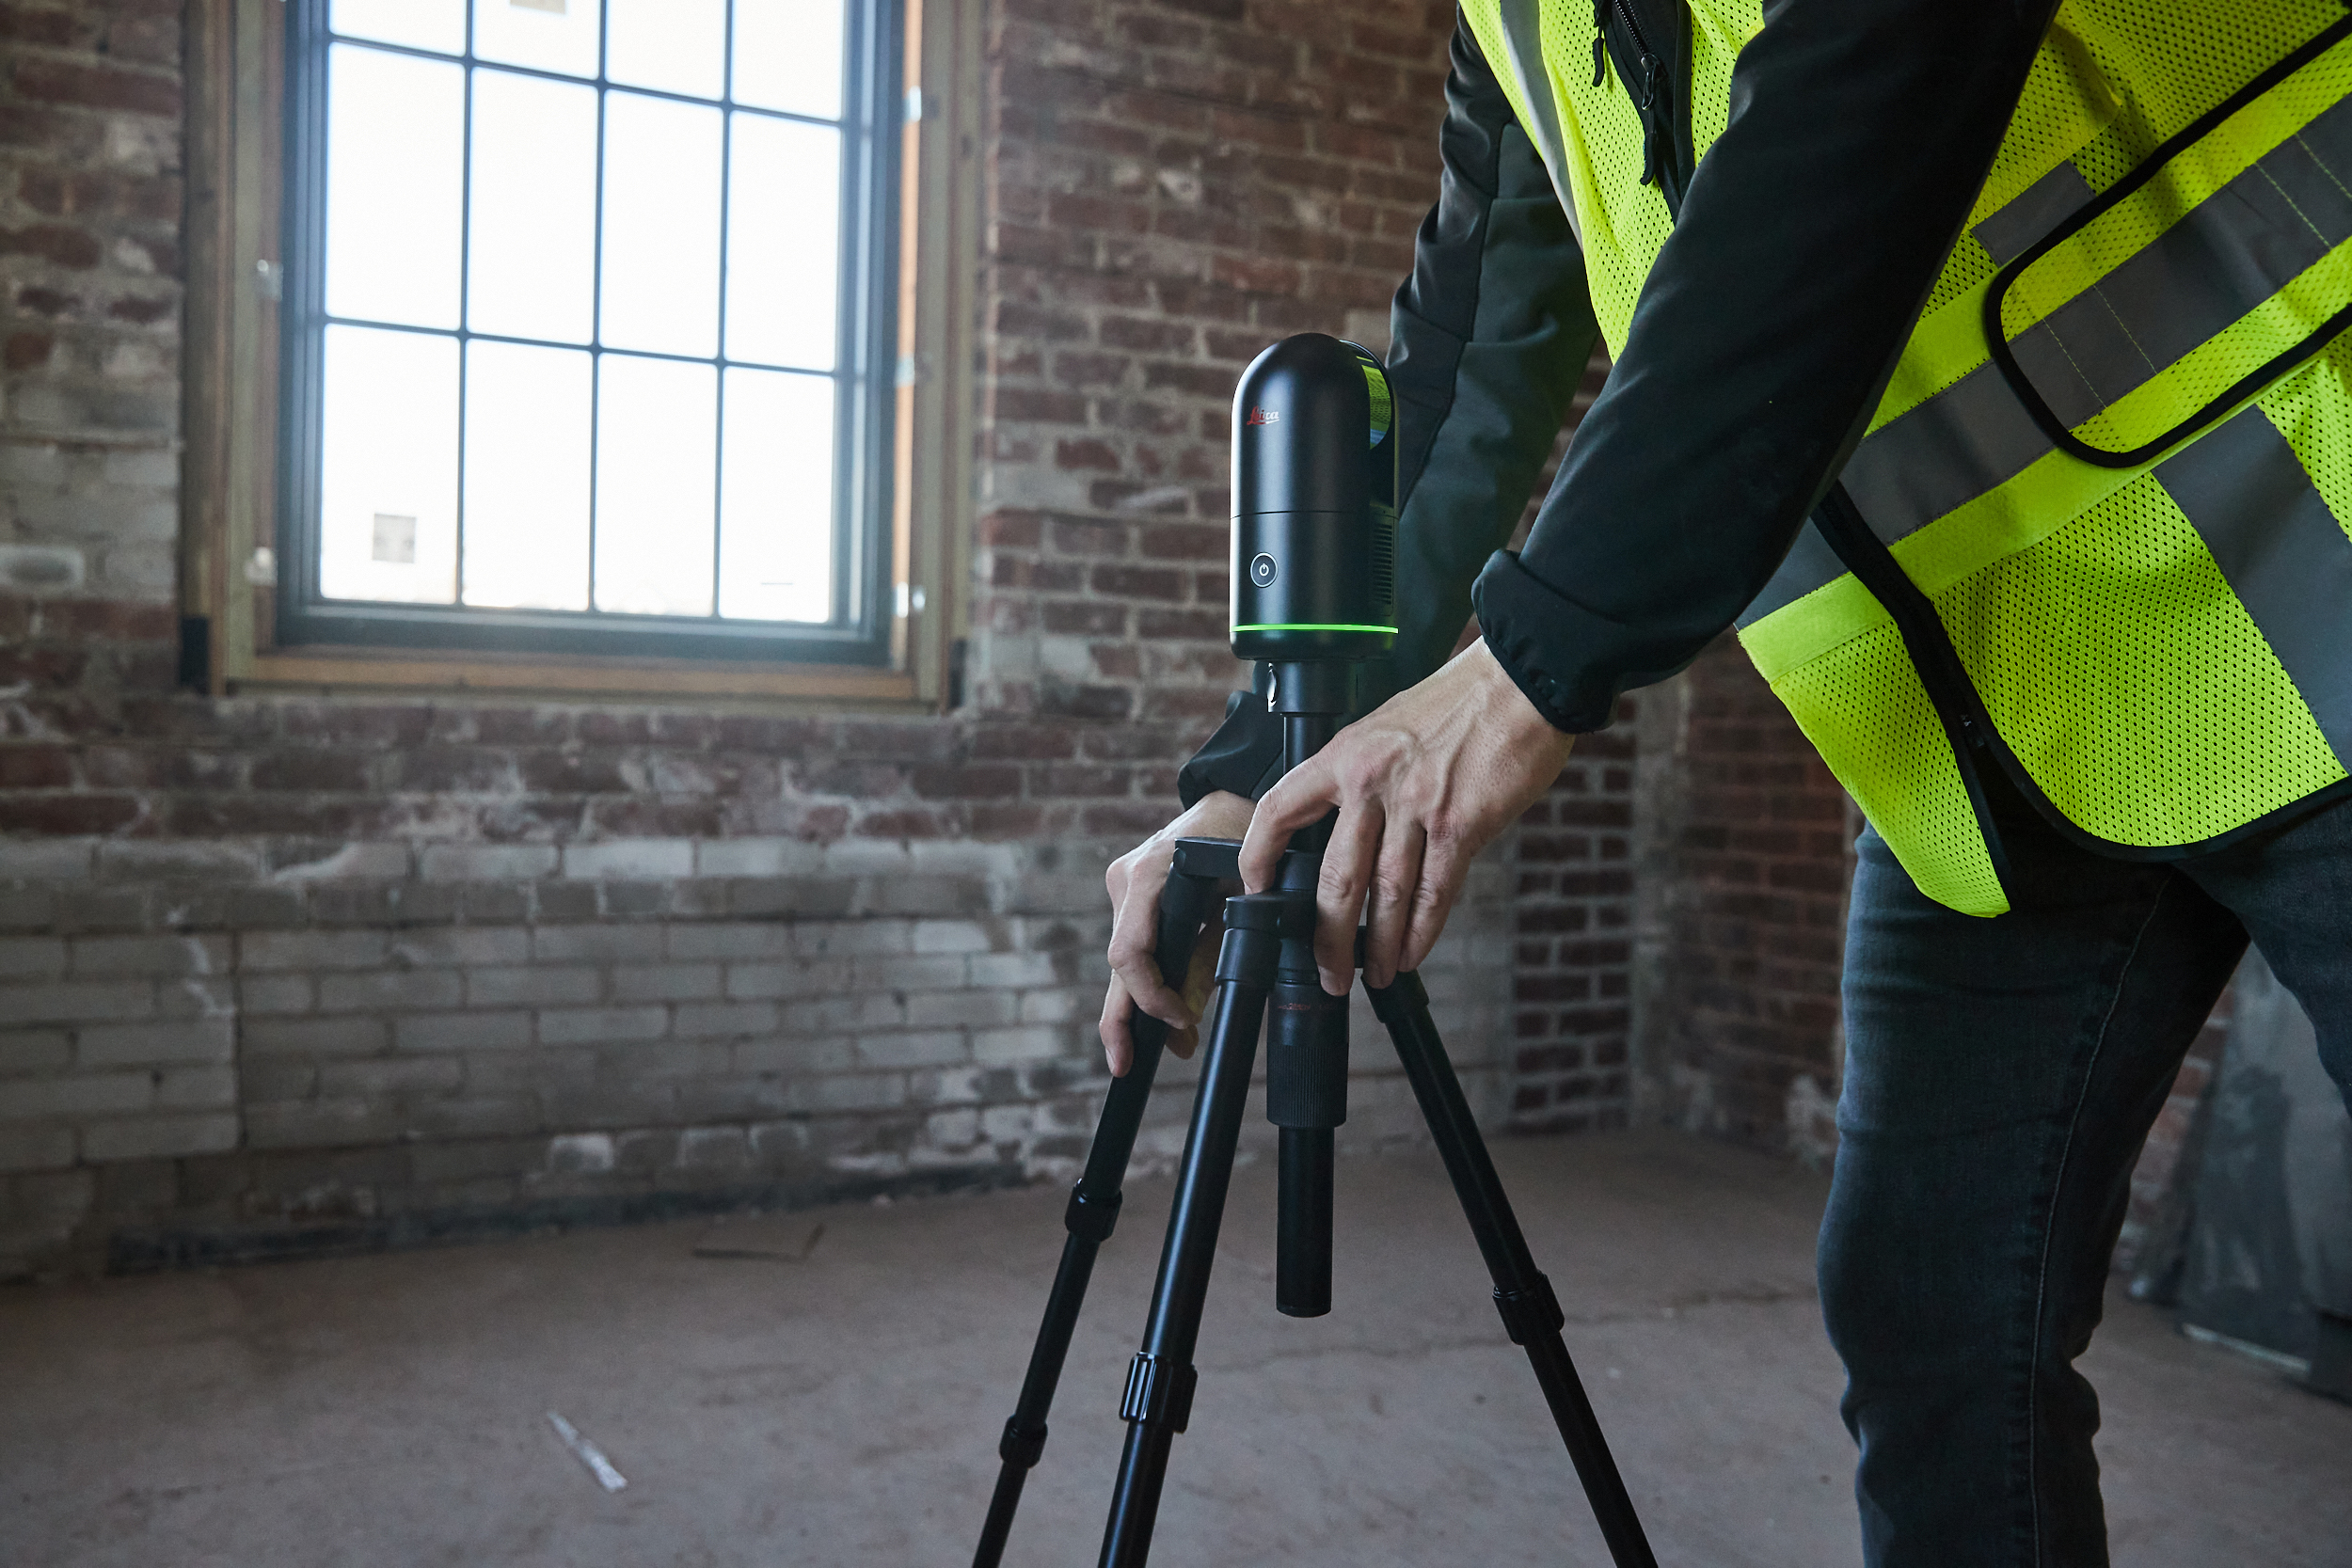
Setting up the tripod
You don’t have to use a tripod with your BLK360 — any flat, stable surface will do. But if you are using one, setting up your tripod correctly is a small but essential step in ensuring a low-frustration scanning experience. Whether you're using one of our compact, collapsible BLK360 tripods or another tripod of your own, make sure that the stand is extended to your desired height and that all the legs are firmly locked in place.
There's nothing worse than starting your scan only to realize that the scanner is slowly tilting as it goes because leg extensions haven't been tightened correctly. Doing a stability and tightness check before scanning will save a lot of hassle.
Choosing the right scan settings
You might be wondering, at this point, what the correct scan settings are for the area you’re trying to capture. It’s tempting to think, “I want the highest density scan with the best images possible,” but it might not make sense of every project or even for every setup within that project.
Keep in mind this golden rule: The more data you collect, the longer until results are available for you to use and the more data you’re going to create, leading to larger file sizes.
Let’s break it down a little more granularly.
On the Leica BLK360 G1, your scan setting choices are Low, Medium, and High, with a choice between Low Dynamic Range (LDR) imagery, High Dynamic Range (HDR) imagery, or no imagery at all. These scans, with images, take around one, three, and five minutes, respectively.
On the new BLK360, you can also choose LDR or HDR imagery (or no imagery at all), and there are four scan settings: Fast+ (50 mm), Fast (25 mm), Dense (12 mm), and Dense+ (6 mm). These capture data at 7, 13, 30, or 75 seconds, with a few additional seconds added depending on your image settings.
We recommend playing around with the settings and doing some test scans to see what works for you.
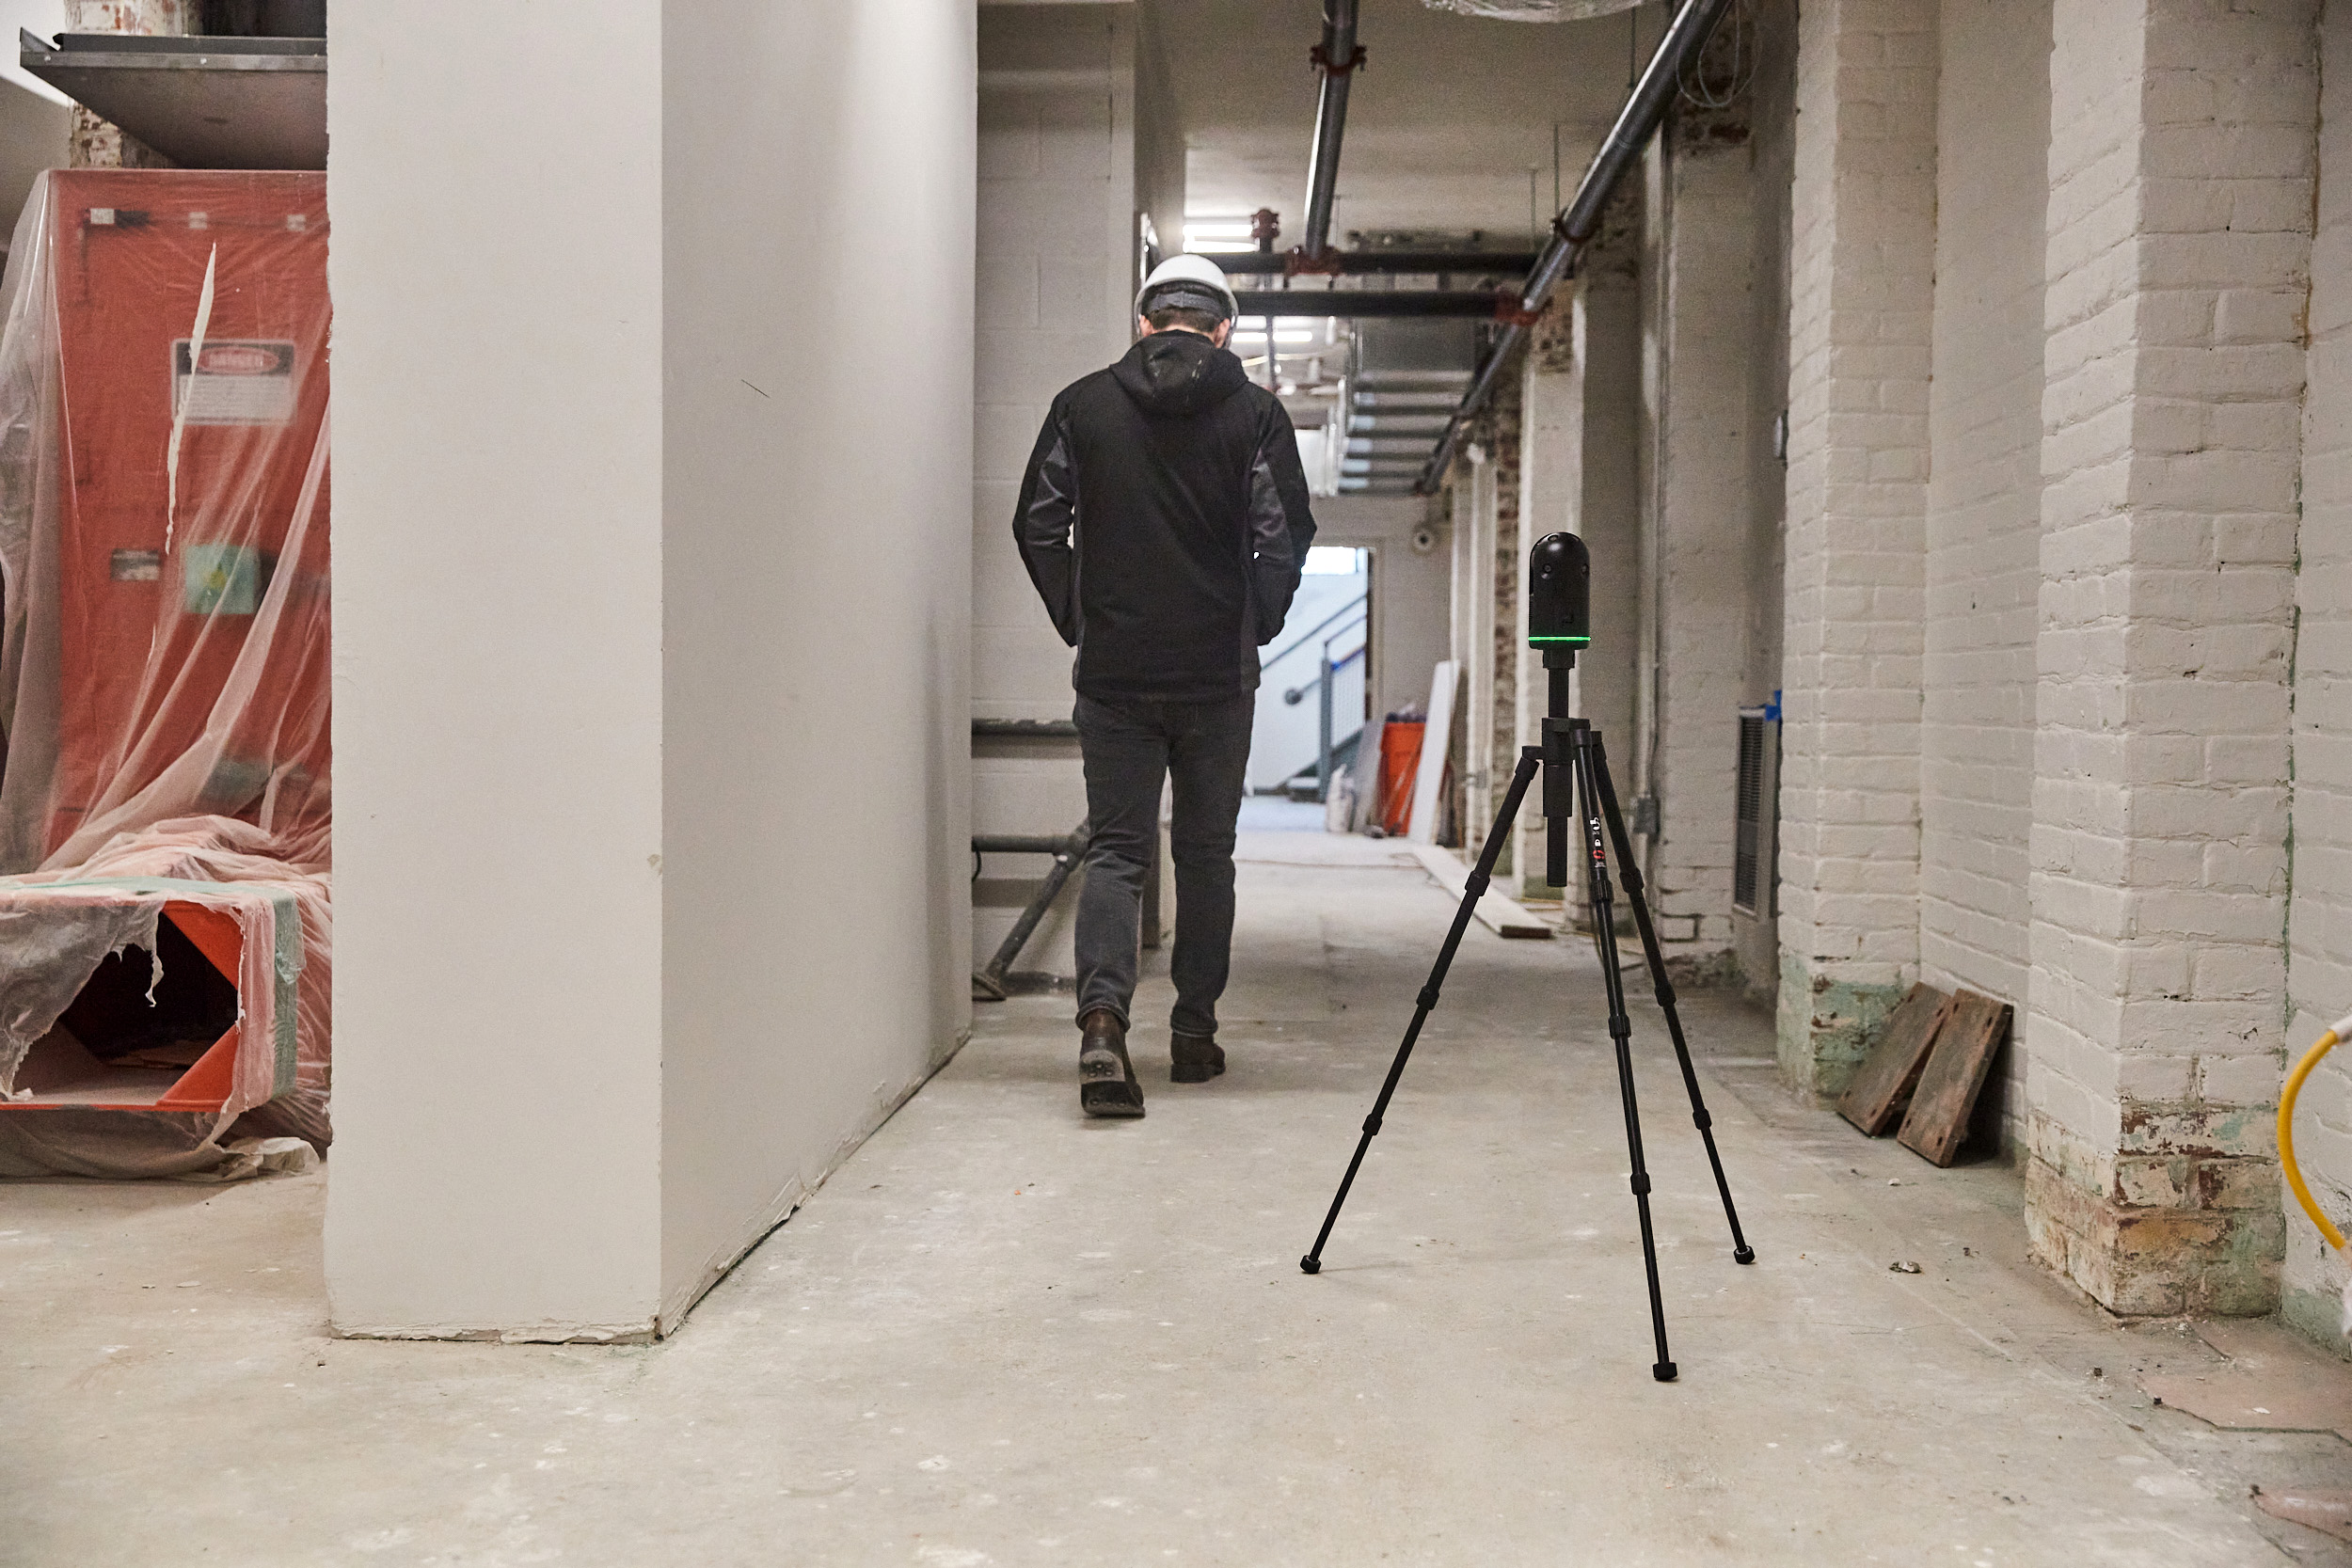
Keep yourself out of your scans
Both the new BLK360 and the BLK360 G1 are fast scanners. That means it can be tricky to keep your scans clean by keeping yourself out of them. You don't want to block important data or make unexpected cameos in your photospheres.
There are a few approaches to keeping yourself out of scans. One is to operate the scanner remotely by setting the scanner up and using Cyclone FIELD 360 app on your smartphone or tablet (or the BLK Live app if you're using a new BLK360) and initiating the scan out of view of the scanner.
Another option is to set a time delay on the push button under app settings, giving yourself time to run to a location out of scanner view.
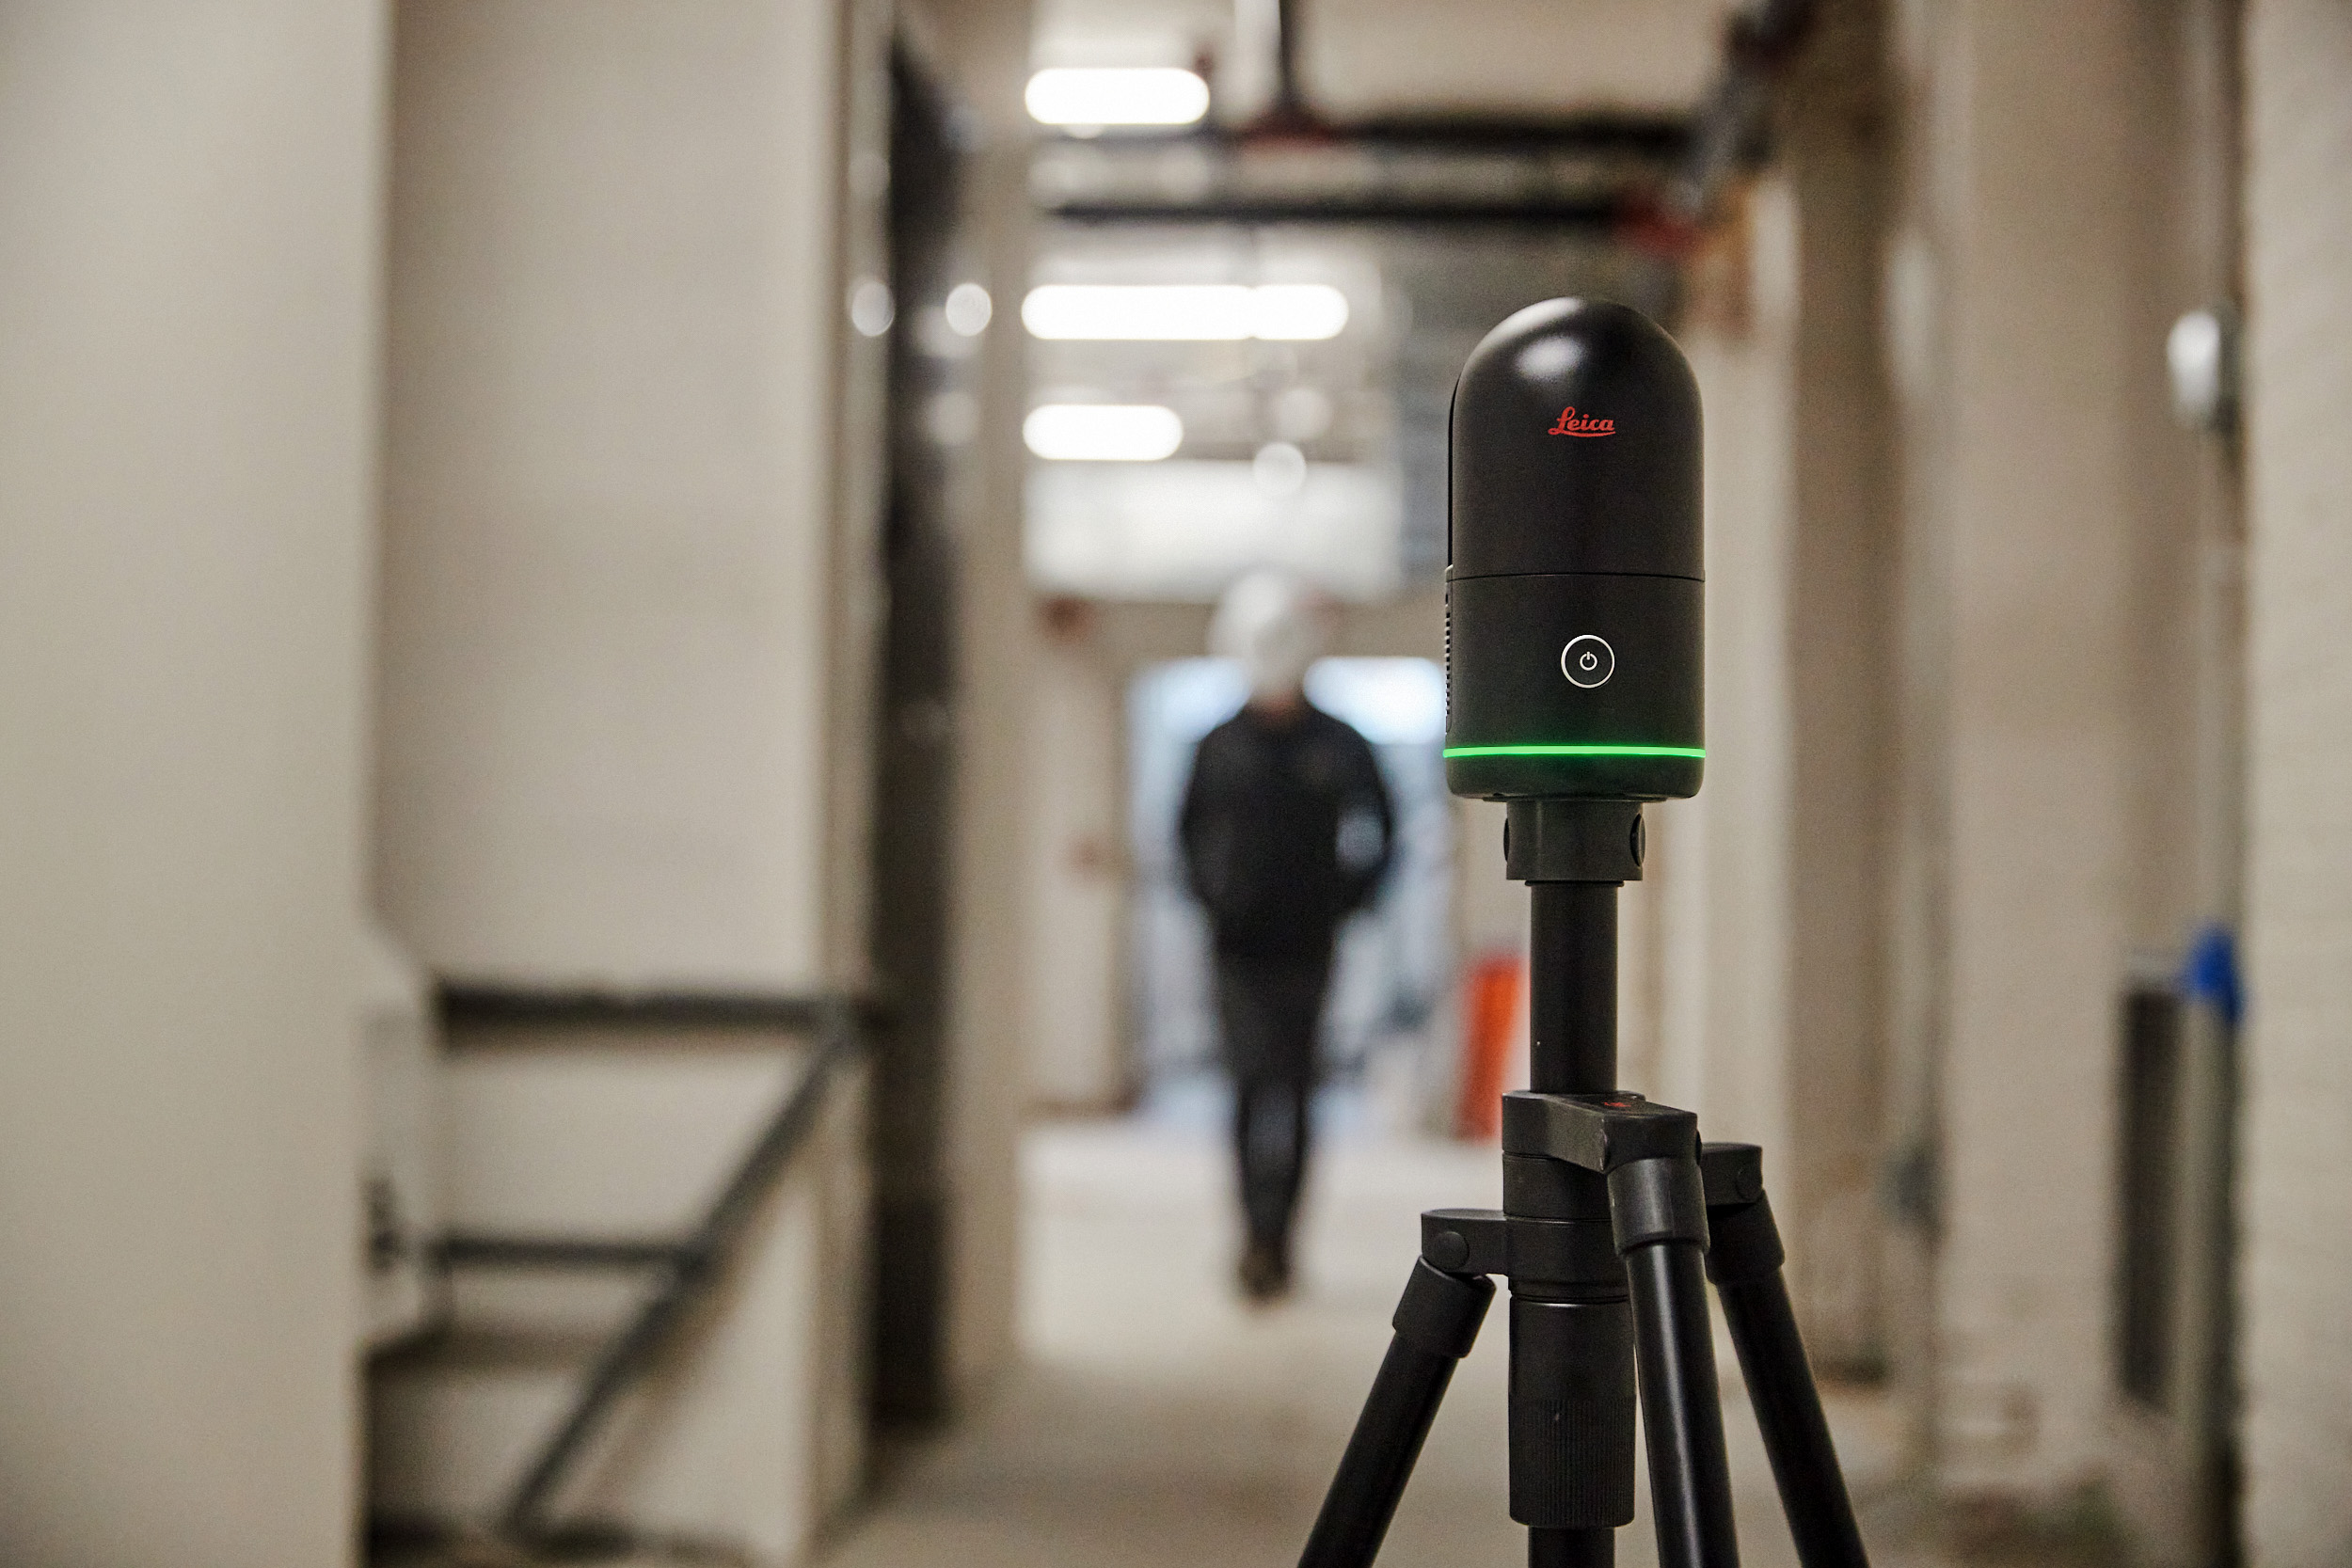
But the fastest option by far – though the one that takes practice to master – is to walk at a measured pace in a circle around the scanner while it's scanning. The trick is easy: if you're facing the Leica Logo while you're walking, you're safe; if you're not, you're probably in the scan image.
We recommend doing this "Leica dance" (as it's affectionately called in the office) since it's the fastest option, keeps you closer to the WiFi connection, increases data transfer speeds and improves the overall experience.
But whatever you choose, try to keep yourself out of the final scan.
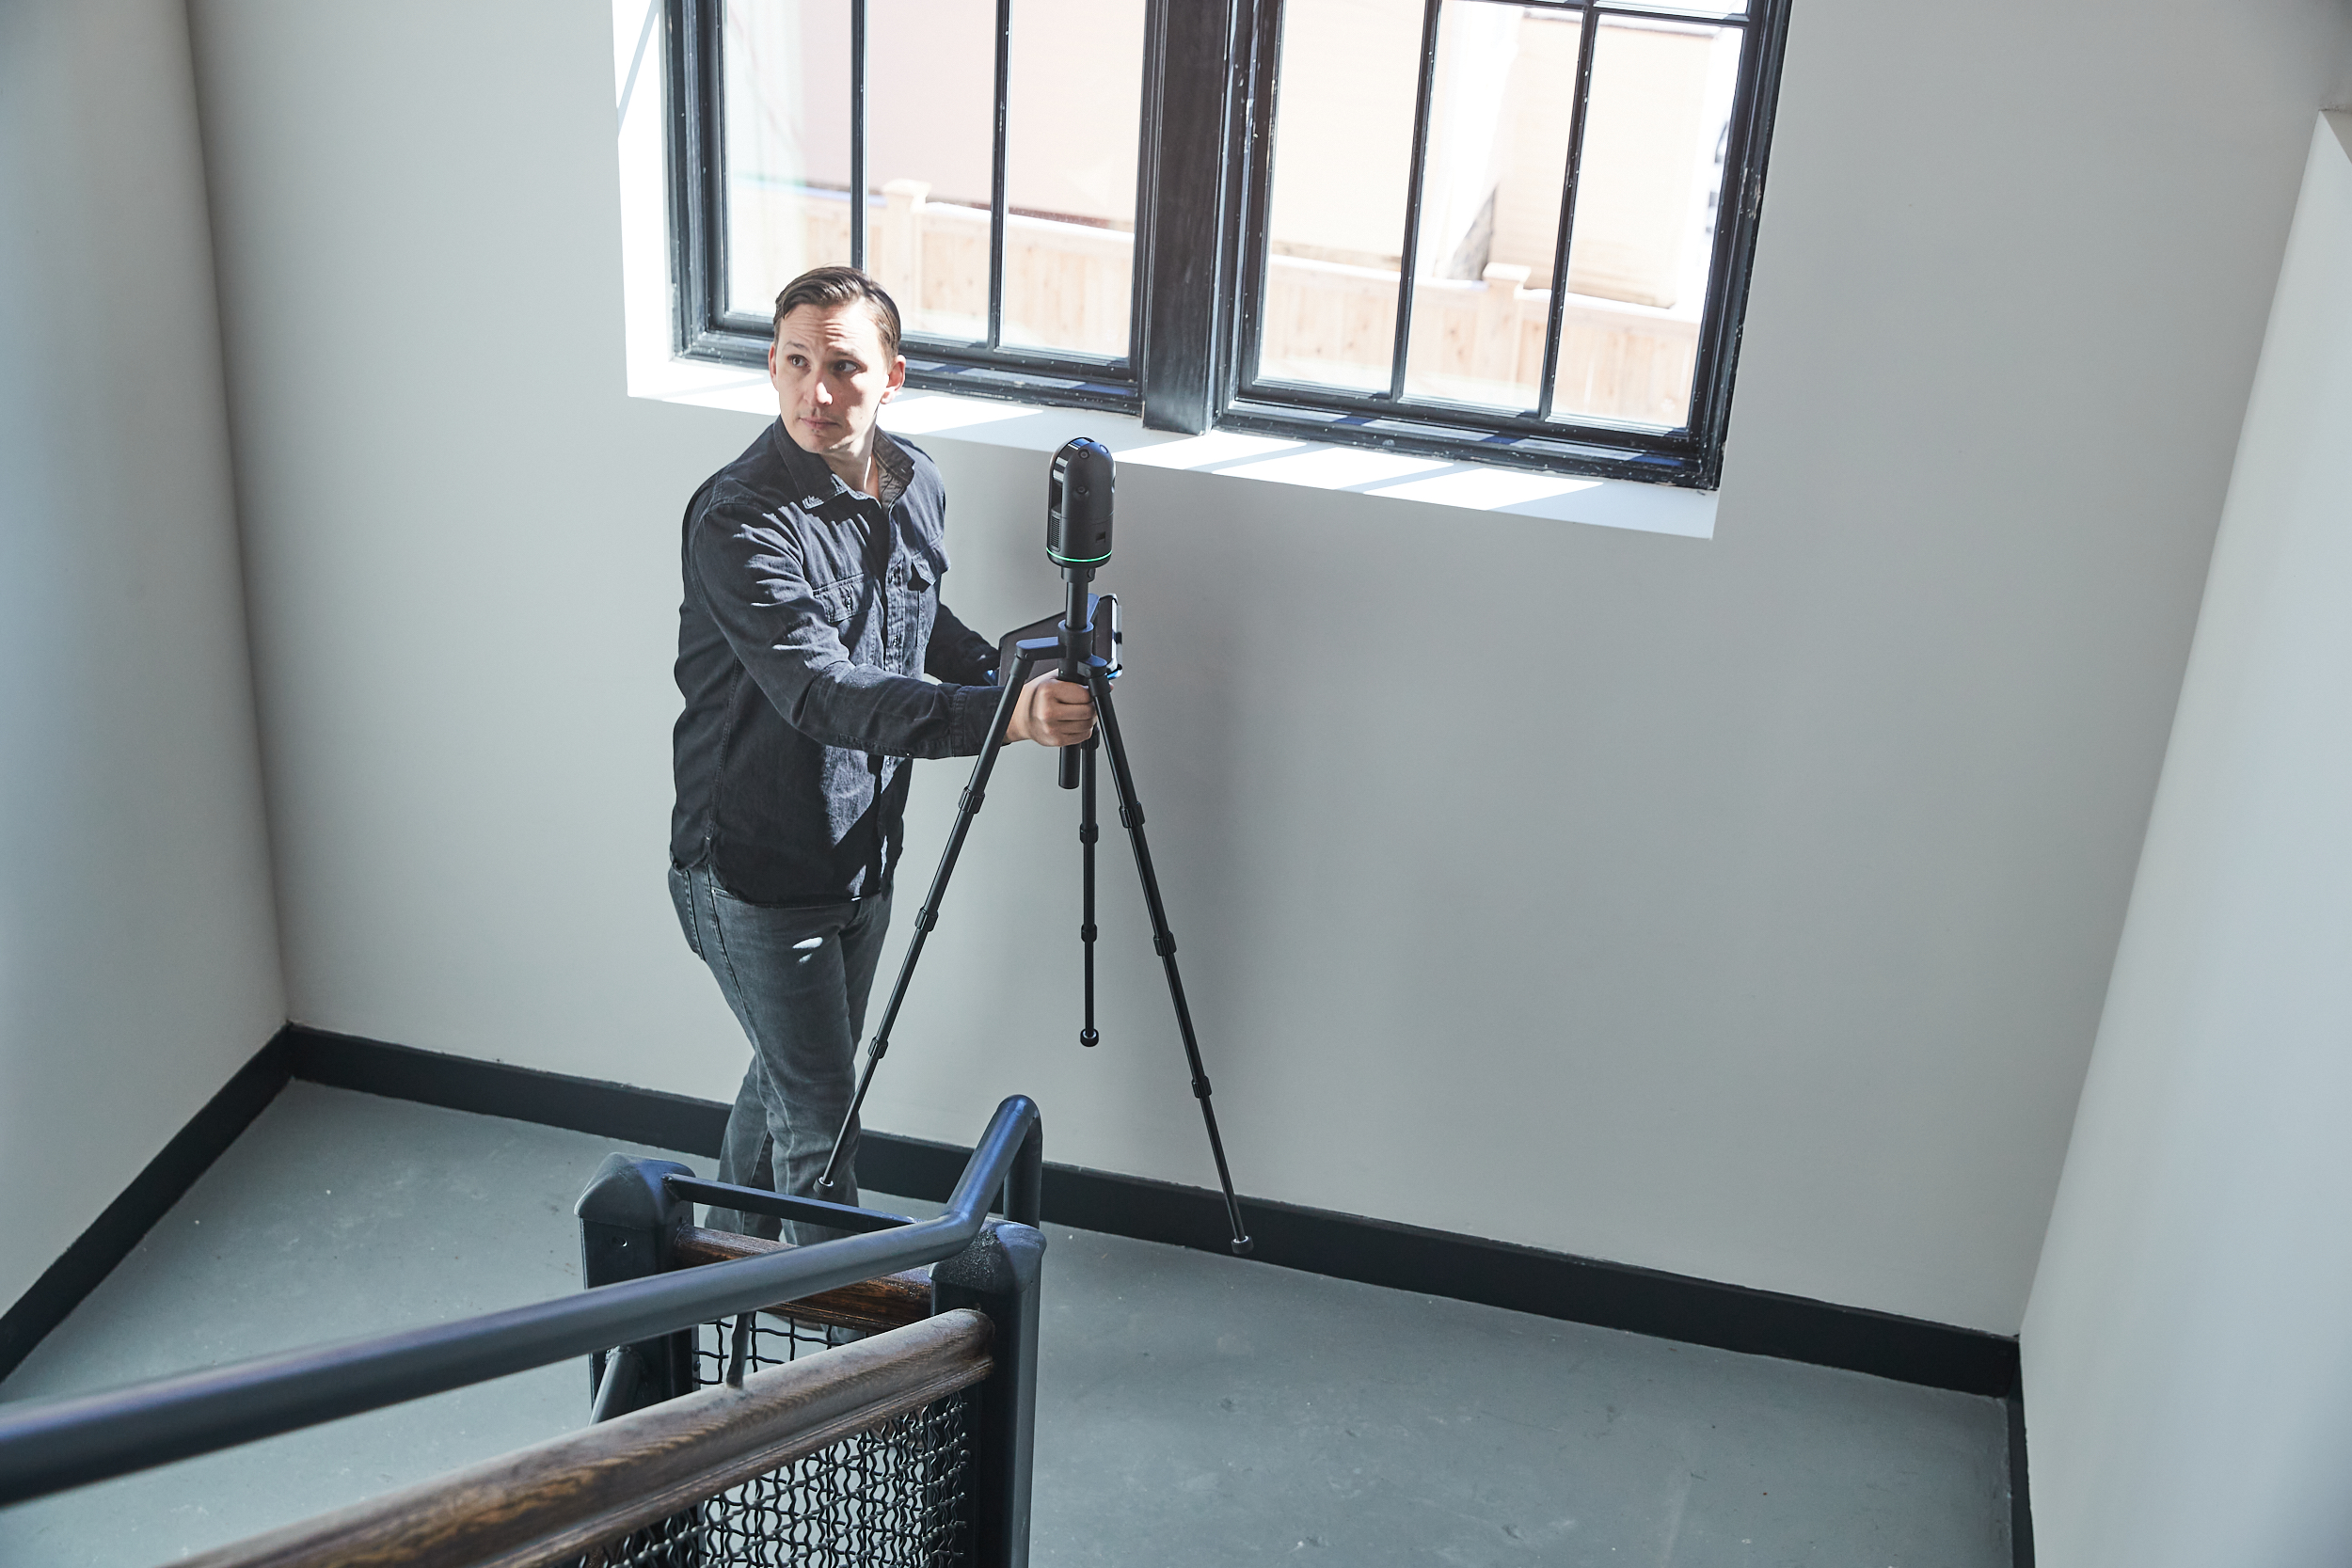
Making VIS work for you
This only applies to the new Leica BLK360, so if you have a G1, feel free to skip to the next section.
The new BLK360 features an onboard technology called our Visual Inertial System (VIS) that tracks your scanner as you move it from setup to setup and pre-aligns your scans. But for it to work as well as possible, keep these practices in mind:
-
Hold the tripod/sensor so that the 4 cameras are facing away from your body as you walk from setup to setup (the Leica logo will be facing you).
-
Walk at normal speed with no abrupt turns.
-
The sensor needs to be able to see the environment, so let light in if you can but turning on lights, and opening curtains.
-
Short walks from setup to setup are more accurate than longer ones.
-
Be mindful of moving objects whenever possible, as this can throw off the tracking.
Finally, check your work: You should always check on your app (FIELD 360, BLK live app) that the position is right and if VIS can’t provide a result, or it’s completely wrong use FIELD 360 to link your setups manually.
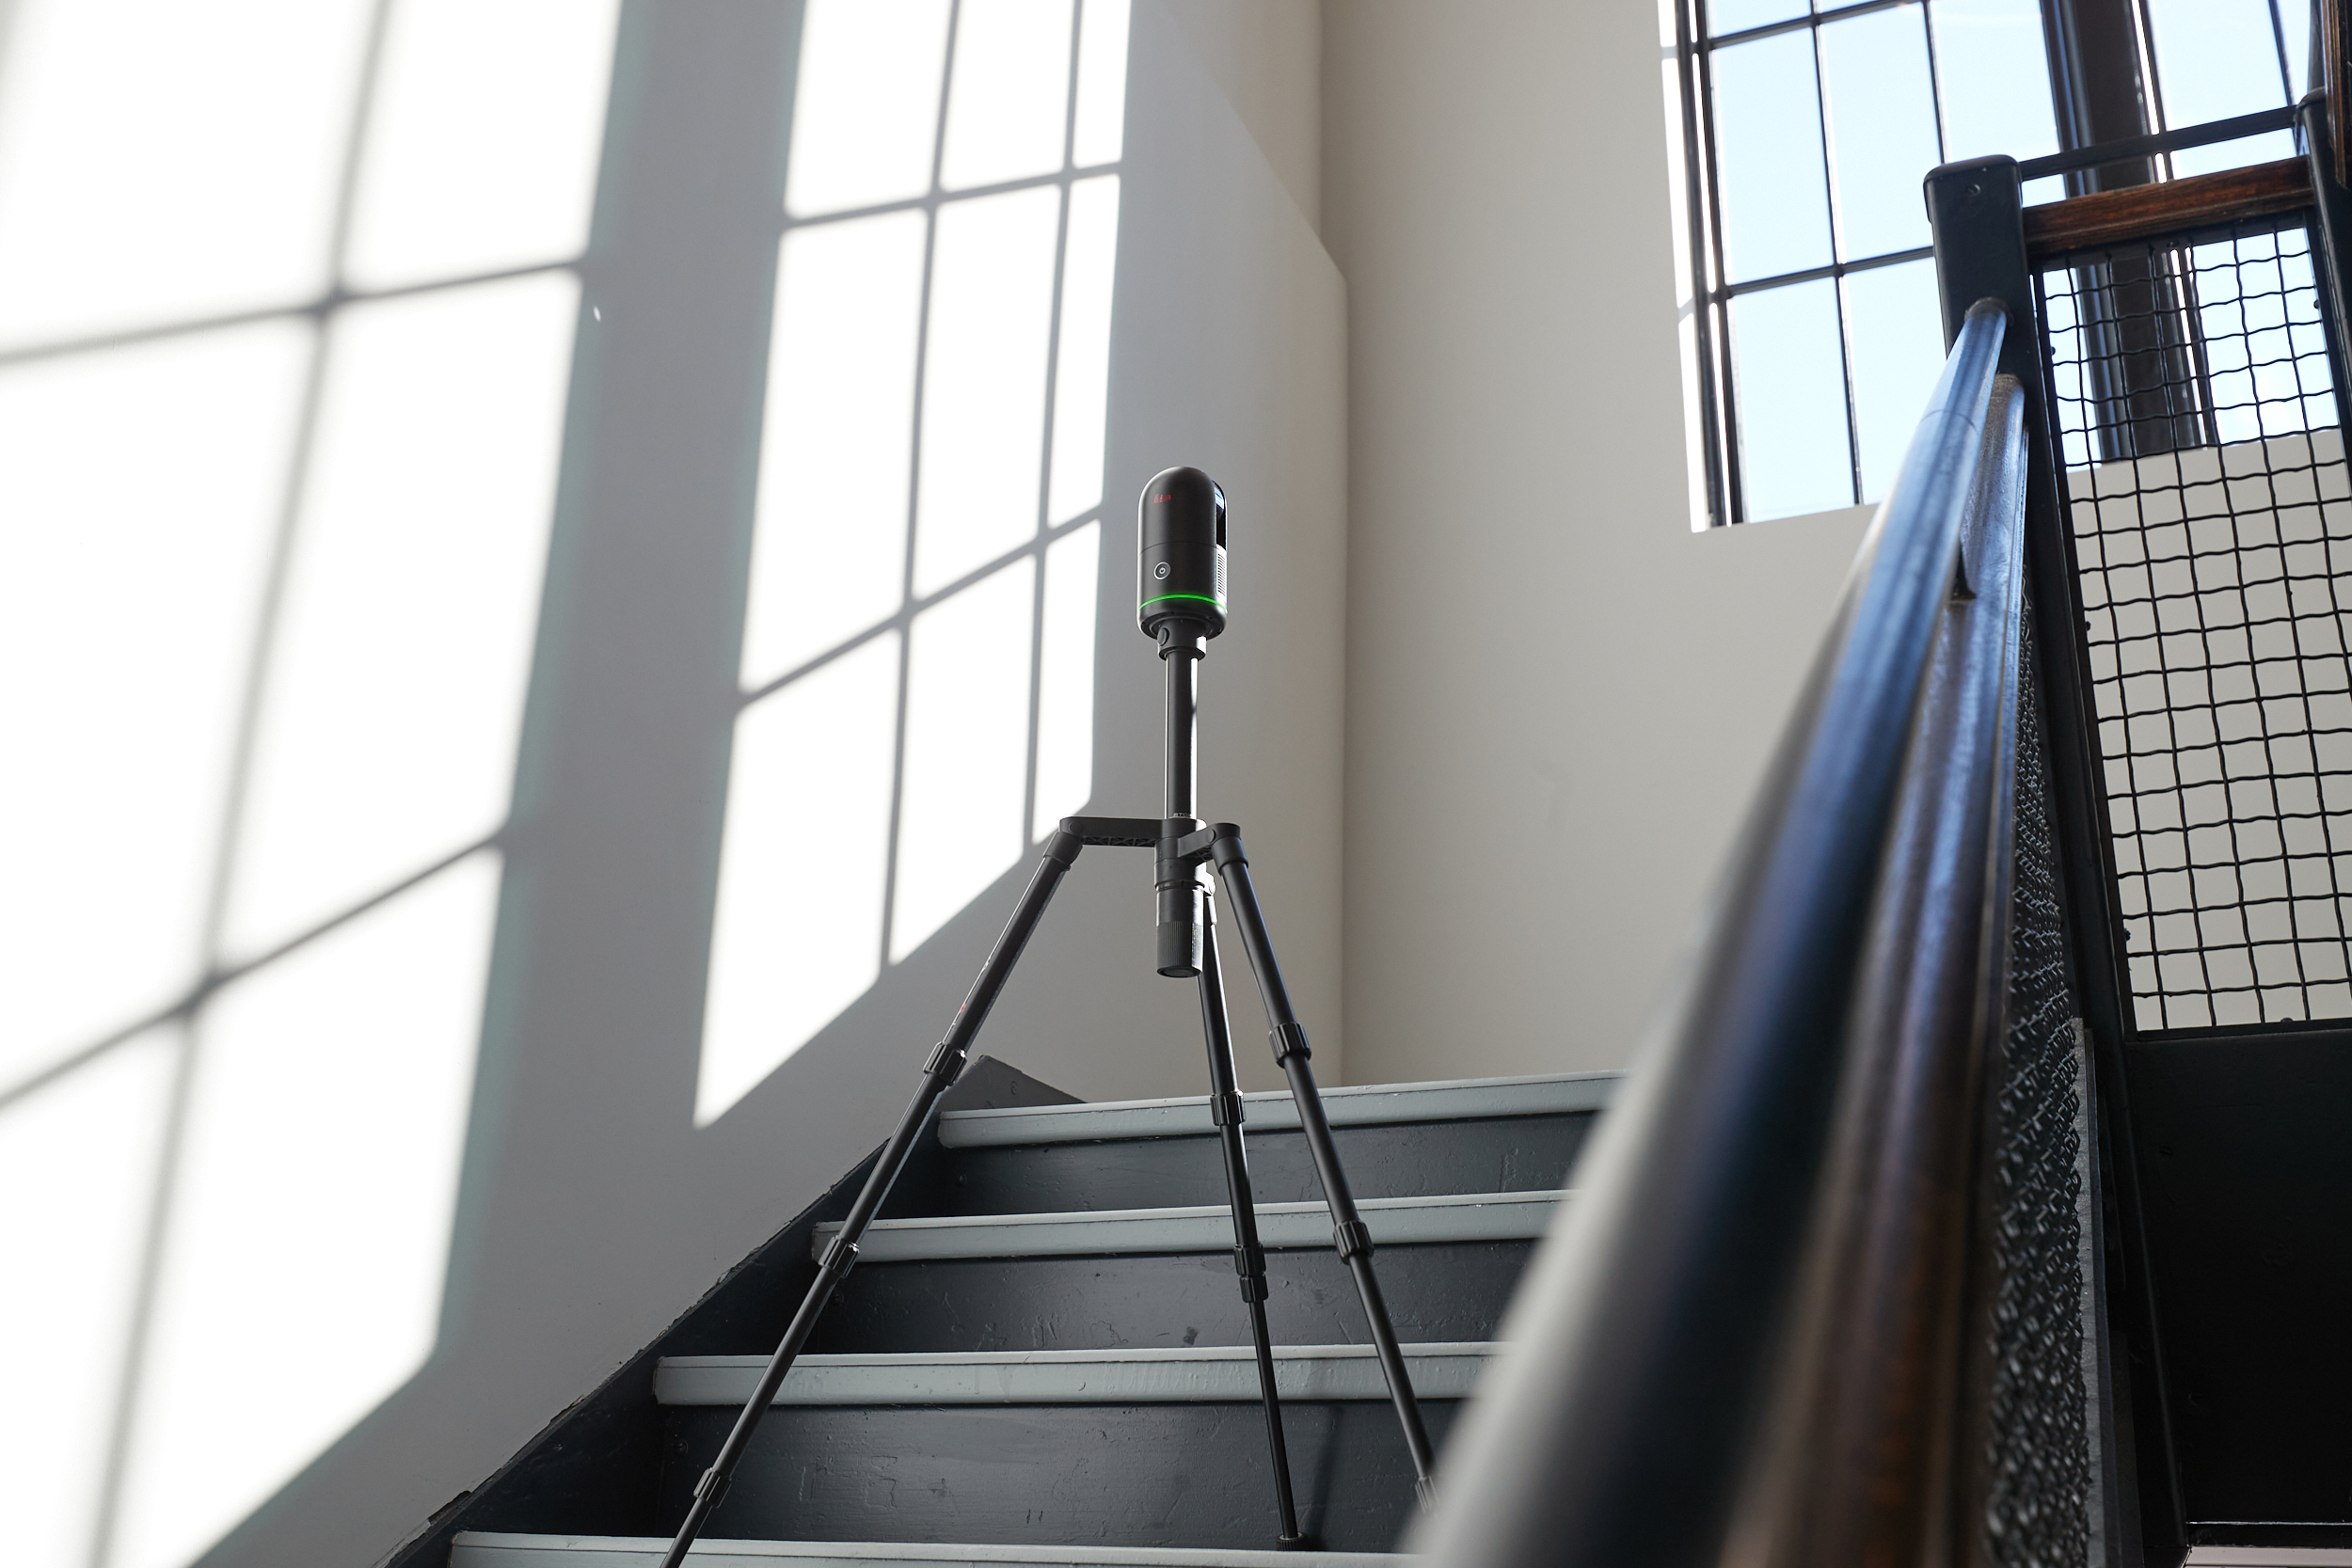
Tips for scanning in hallways, stairs, doorways, and other tight areas
Take extra care with your setups in tight locations like hallways, stairs, and doors to get good scans. If possible, open all the doors in the space you’re scanning to make aligning and registering your scans easier later and to avoid inconsistencies in your data.
Luckily, if you're using Cyclone FIELD 360 or BLK Live, you'll be able to see your scans develop in real-time, giving you a pretty good idea of how much coverage you're getting.
Use this input to gauge how many setups you need to do. This might mean taking a scan at every landing in a stairwell, for instance. In some cases, one landing might not give you enough overlap, and you might need two scans to see both down the stairs and up the next stairs.
Likewise, it’s useful to place setups in doorways and archways between your room scans both for coverage and to make it easier for you and our software to register the scans together.
A good rule of thumb is that if you look at your app and it fits together in the app, it will definitely work on the computer. If it doesn't, it might or might not, so it's better to do an extra scan to fill in the blanks and make sure.
If you’re doing push-button scanning without an app, imagine a gently tossing a ball between the two scan positions. It should be a direct line and an easy “catch” between the two points. Use this to visualize a reasonable scan distance with good overlap.
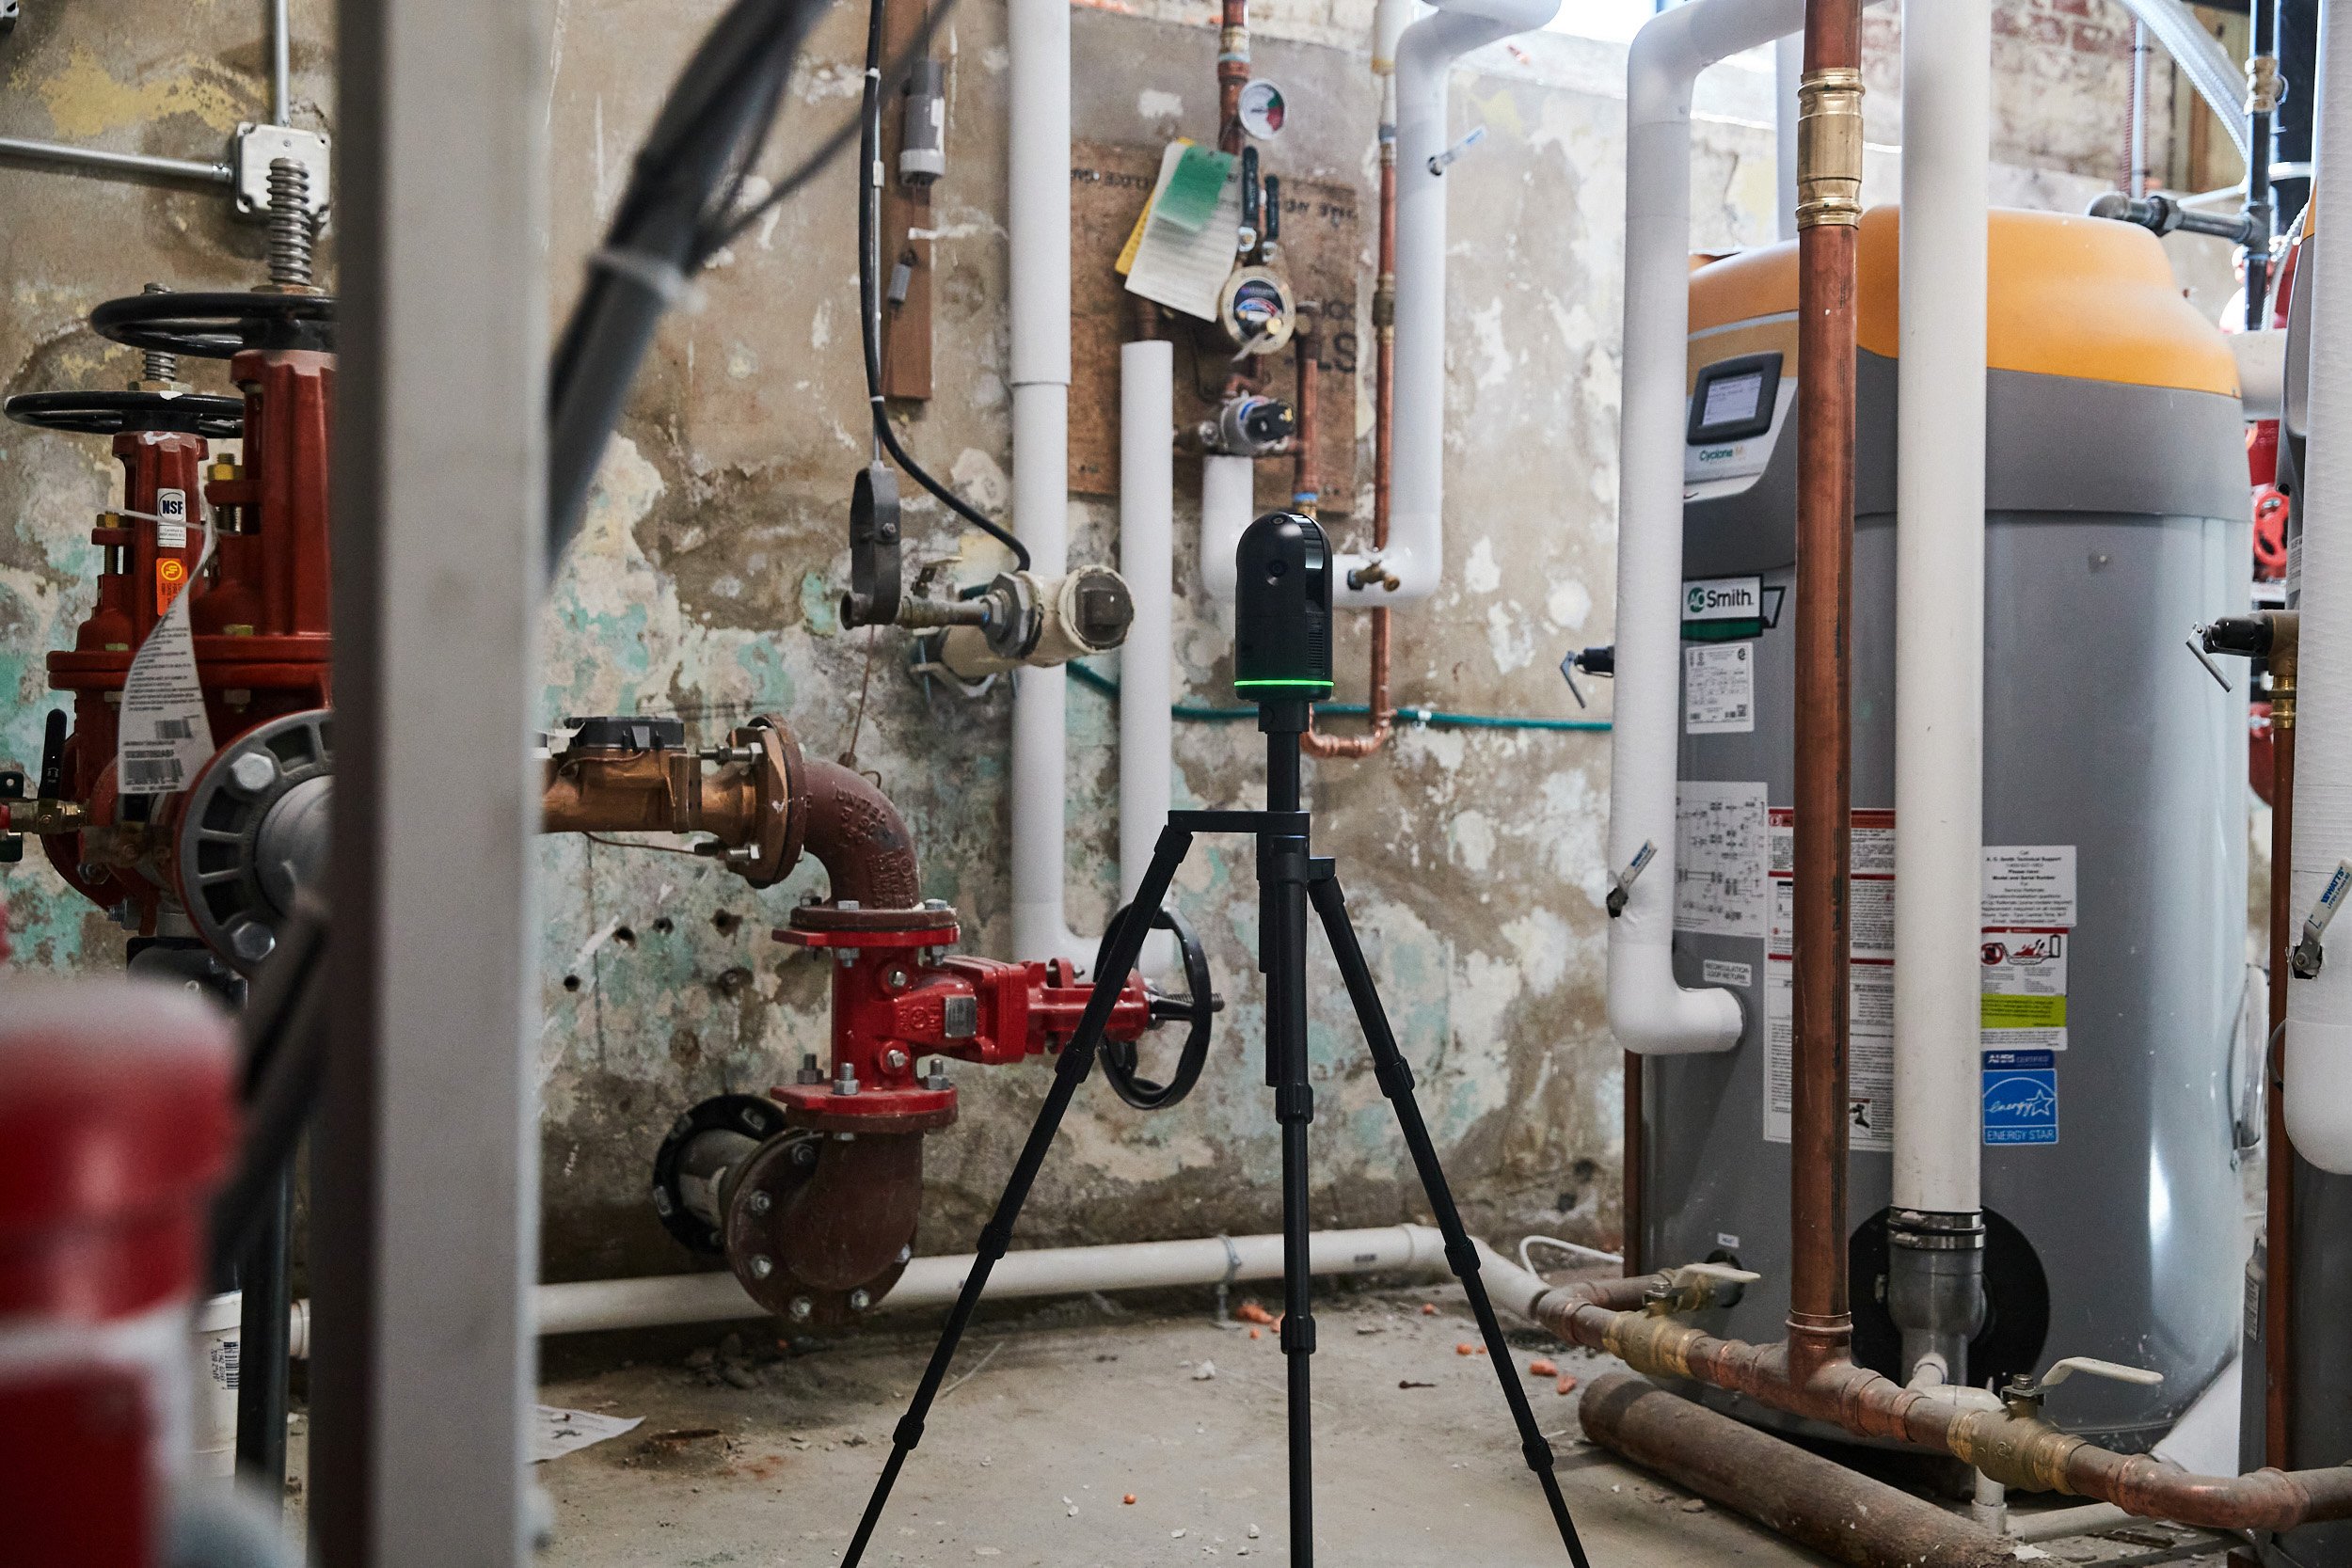
Scanning in public places
Some of the trickiest places to scan are in public, where people can move freely through your carefully orchestrated setups. While there's no solving the human variable, these tips have helped our users manage public scanning situations easier.
Scout the area first and plan your setups ahead of time to increase speed and make the process flow more efficiently. You should also expect people to be curious, often walking right into your scanning shot. Be friendly, explain what you're doing and try to move them out of your scan area as quickly as possible.
Pay attention to lighting to get the most out of your scans, especially with the new BLK360. While the BLK360 G1 does a separate scan to calibrate its lighting, the speedier new BLK360 uses its 5-bracket high dynamic range sensors to figure out the lighting on the scan. This means you should start by pointing the scanner at the area with the most average lighting for the scan you're trying to take to ensure the best possible imagery.
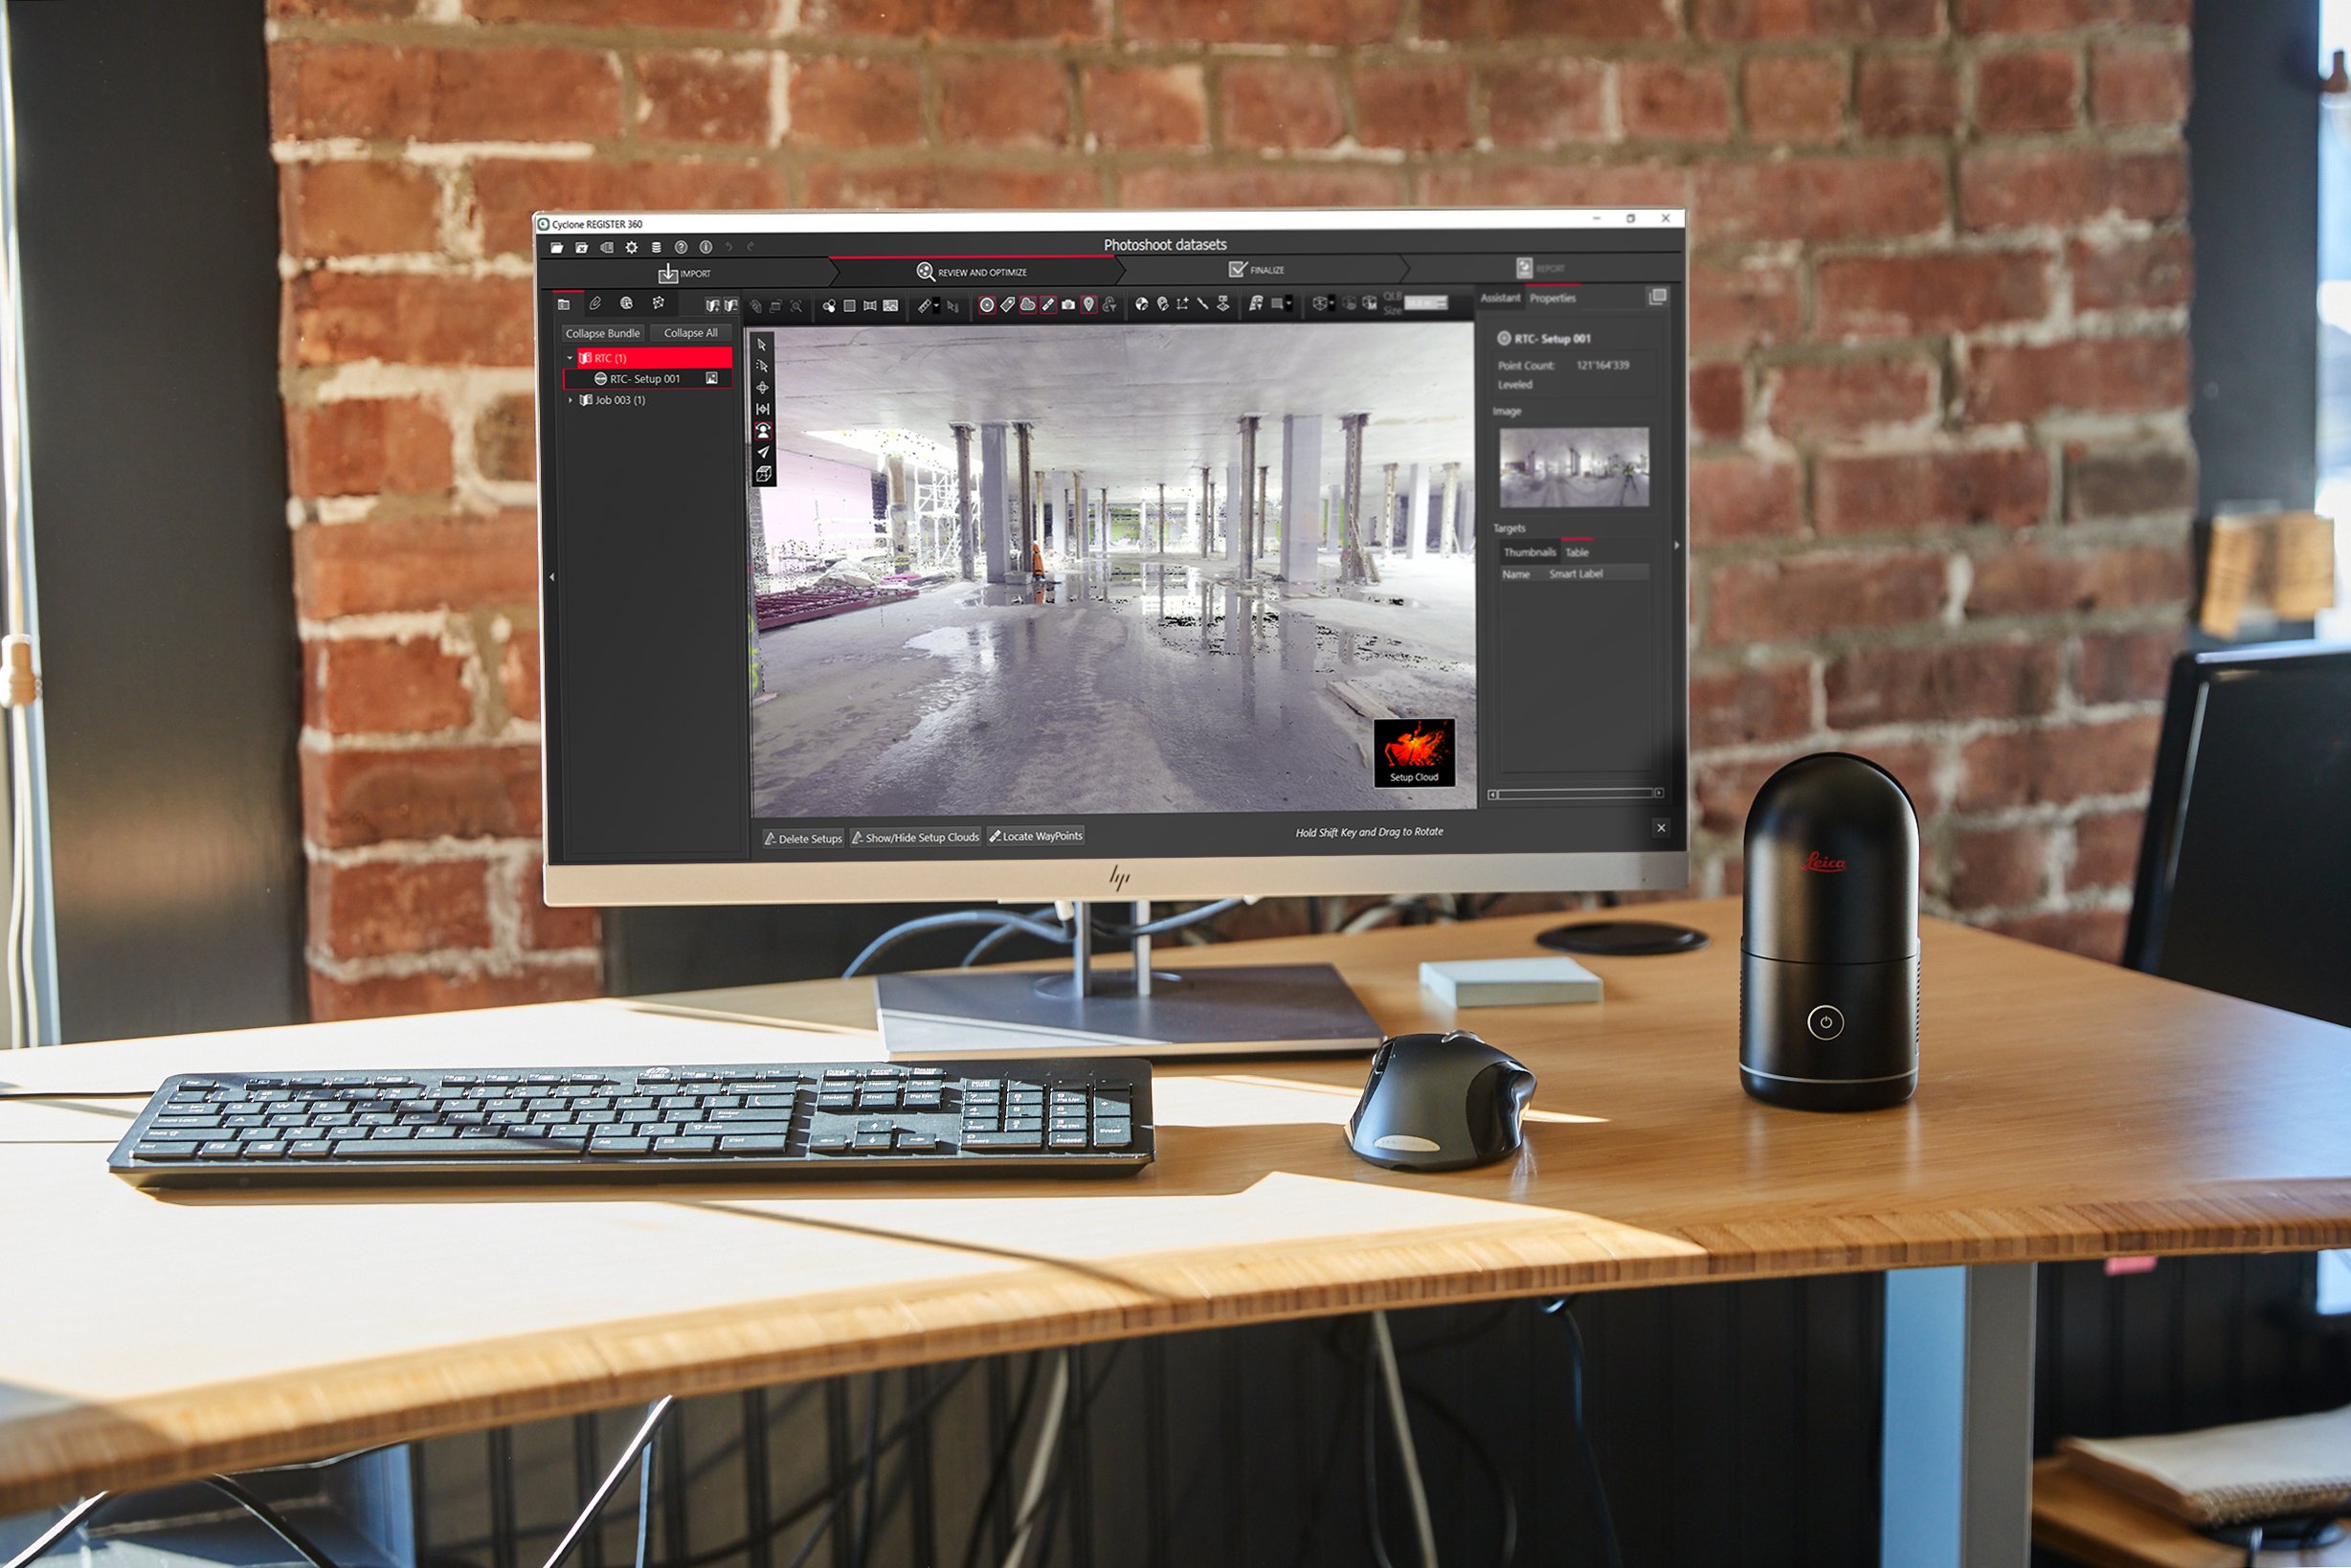
Registering your scans together
Finally, once you have your scans, it's time to align them and register them together. If you're using Cyclone FIELD 360, you can align scans from your phone or tablet to help save processing time later. And the new BLK360 has our Visual Inertial System (VIS) to automatically align scans in the field, drastically reducing the amount of manual alignment you’ll need to perform.
Otherwise, you'll use software on your computer like REGISTER 360 to do the final registrations of your point clouds. Here we have two tips. The first is to remember that the closer the scans are together, the easier registering them will be when you get to your computer.
Another tip is if you're scanning an area with very few vertical features, it's sometimes worth throwing in a feature – say a cardboard box –to help orient the scans together.
Practice makes perfect
Hopefully, this article helps you start scanning on our BLK360 with fewer hiccups than you might have otherwise. You can also check out helpful tutorial videos on our Leica BLK YouTube page.
Have a tip that you think should belong here? Message us on LinkedIn, Facebook, or Instagram.
Happy scanning.


