
How to get stellar 3D data: Leica BLK2GO PULSE Best Practices
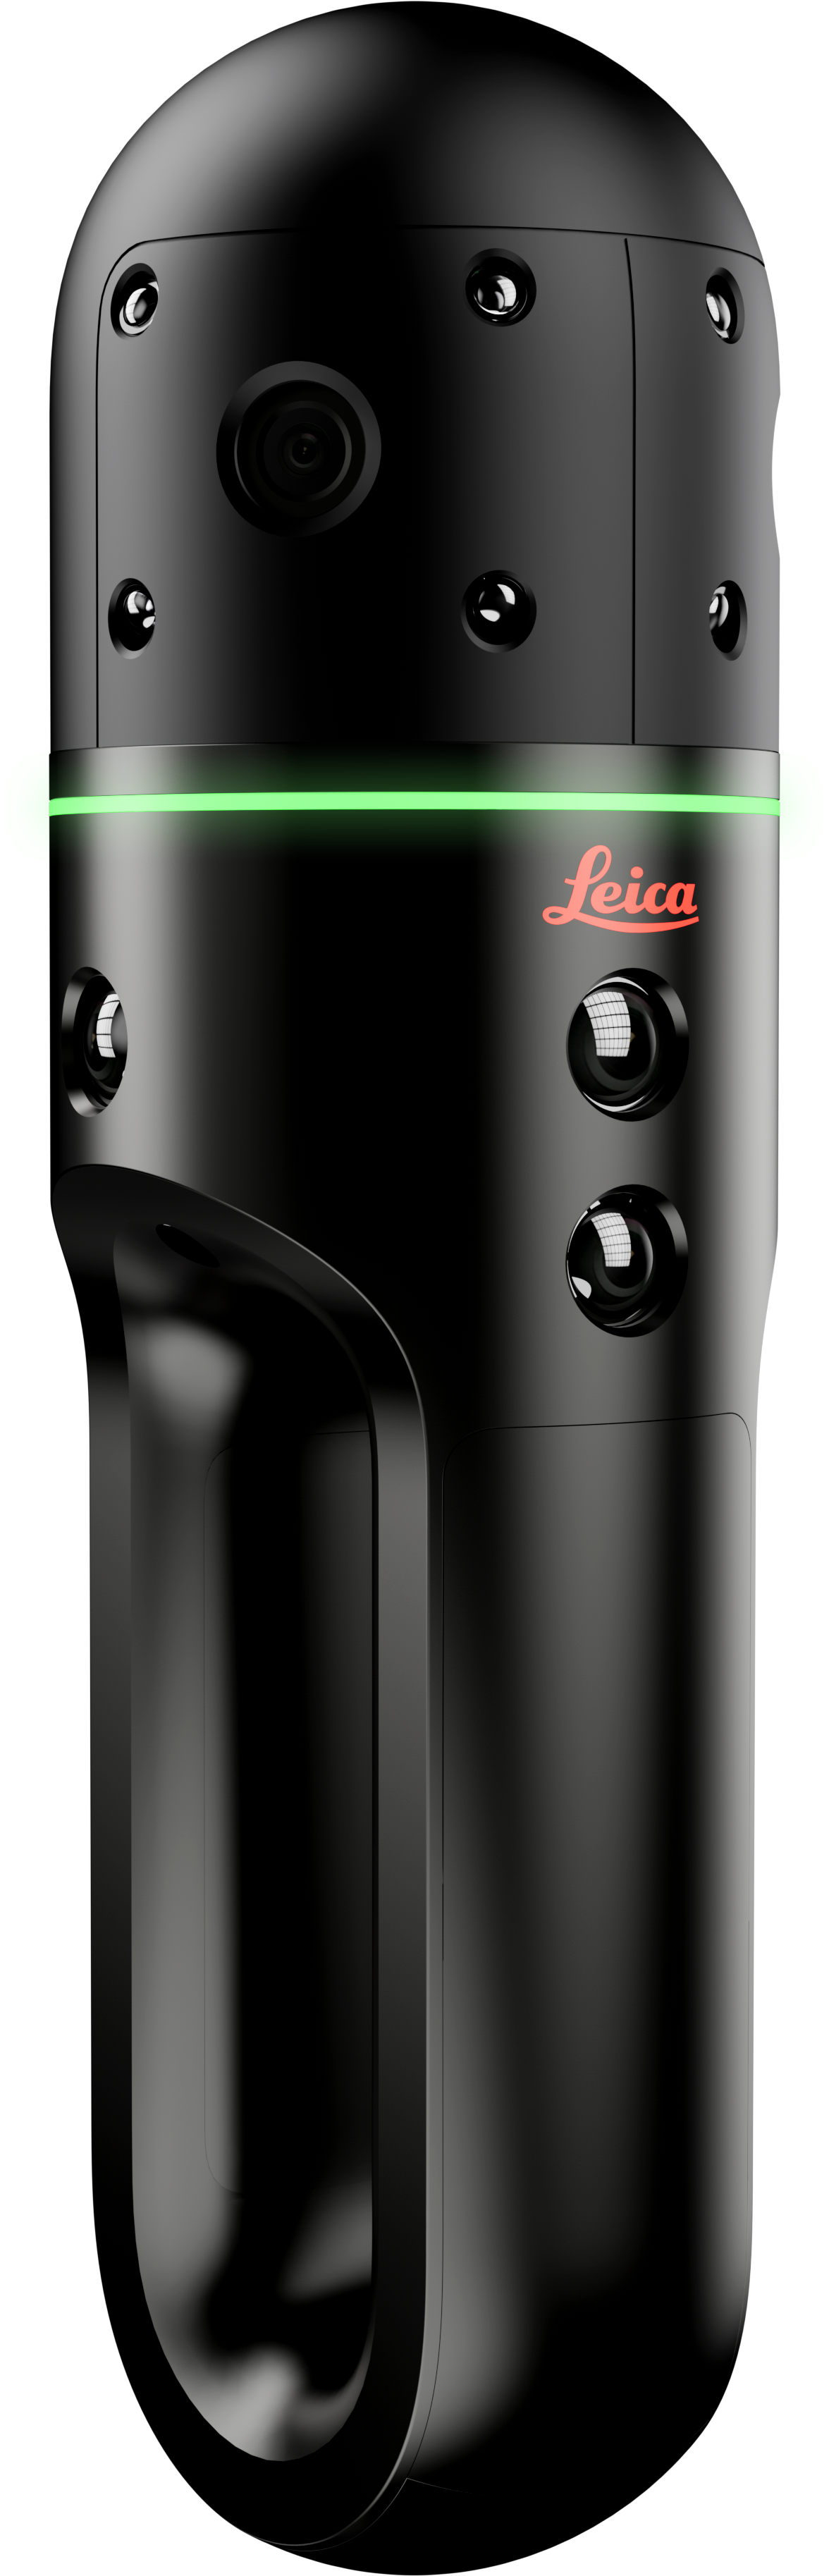
The new Leica BLK2GO PULSE introduces PULSE Technology to the Leica BLK series of laser scanners. Now, you can scan intuitively in first-person with the BLK2GO PULSE, instantly capturing interior spaces and structures like never before. Follow the best practices below to get the optimal experience from your BLK2GO PULSE.
Before You Begin
Download the BLK Live app
First, download the BLK Live app for iOS or Android., which is essential for using all BLK2GO PULSE features and should be ready to go, as you will be using the app before, during, and after scanning. The primary features of the BLK Live app include connecting to your BLK2GO PULSE, initializing the scanner, capturing scan data and high-resolution images with on-screen guided feedback, and viewing and sharing your data.
You can use BLK2GO PULSE without the app or smartphone, but you’ll get the best scanning experience when you use it, along with instant data delivery to your smartphone. We strongly recommend using the BLK2GO PULSE with the BLK Live app.
Clean the lenses and sensors
After that, ensure that your BLK2GO PULSE’s ToF lenses and RGB camera are clean for the best scanning experience and data capture with your BLK2GO PULSE. Inspect your BLK2GO PULSE device for any dust or debris on the scanner’s camera lenses and ToF sensors, and make sure that the lenses and sensors are clean. Look for the cleaning cloth included within your BLK2GO PULSE packaging and use it to clean the sensors. This step is essential for capturing sharp data images and point clouds.
Check your batteries
Finally, once everything is squeaky clean, it’s time to check the BLK2GO PULSE’s battery level. By pressing the small button on the battery, you can see the level via 4 LED lights that indicate battery charge level. Remember, the BLK2GO PULSE battery can last up to 45 minutes. We always recommend scanning with a fully charged battery for your BLK2GO PULSE, whatever your project scale, to ensure you capture everything you need.
Planning Your Scan Path
When taking your BLK2GO PULSE into the field, planning out your scan paths and desired outputs before you begin scanning will make for a smooth transition from capturing your scan data to working with it.
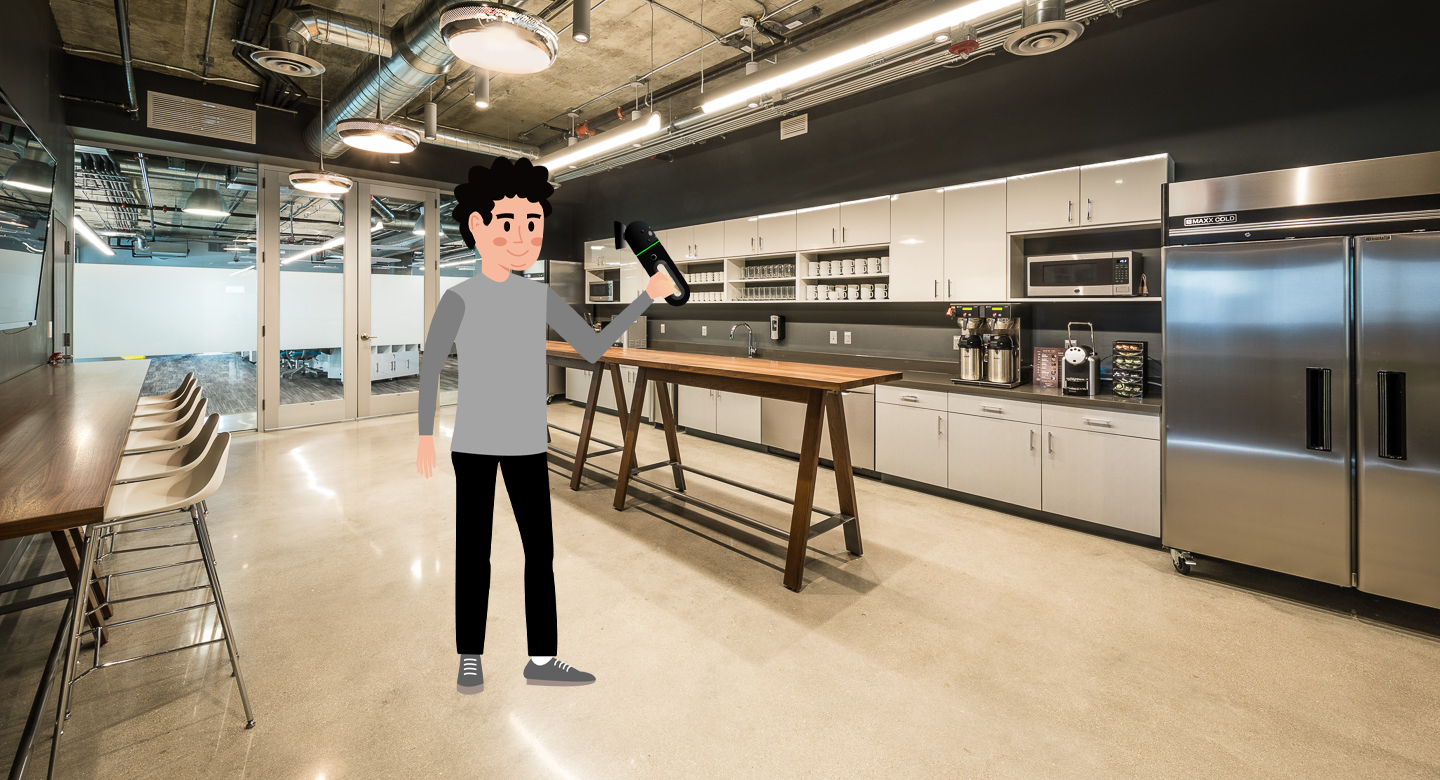
We recommend first choosing a specific initialization area and booting up your BLK2GO PULSE there rather than booting up and initializing where you will scan, so the BLK2GO PULSE is ready to go when you enter your planned scan area. By selecting where you’ll start scanning beforehand, you’ll observe how to optimize your scanning experience. A few things to note before you begin:
-
Observe foot traffic: Multiple people moving in front of the scanner might impact the quality of your scan and influence your ability to move freely with the BLK2GO PULSE. When scanning, make sure you’re free to spin around and move easily without other people in the way so that everything you need to scan is captured by the BLK2GO PULSE.
-
Good lighting: Proper lighting will ensure that you capture the best data possible. Turn on all the lights in your scanning area to make the most of the GrandSLAM RGB cameras to colorize your scan data accurately.
-
Open doorways: If possible, open all doors on your scanning path so you don't have to open them while scanning. Keep your scans smooth when transitioning through openings by slowing down while you walk through; this will help GrandSLAM technology connect your previously scanned environment with your new area.
Booting Up
Once you’ve chosen an area separate from your scan path for initialization, press the button on the BLK2GO PULSE to turn on the scanner. Once the LED ring turns solid green, the booting process has finished.
Connect to the BLK Live app
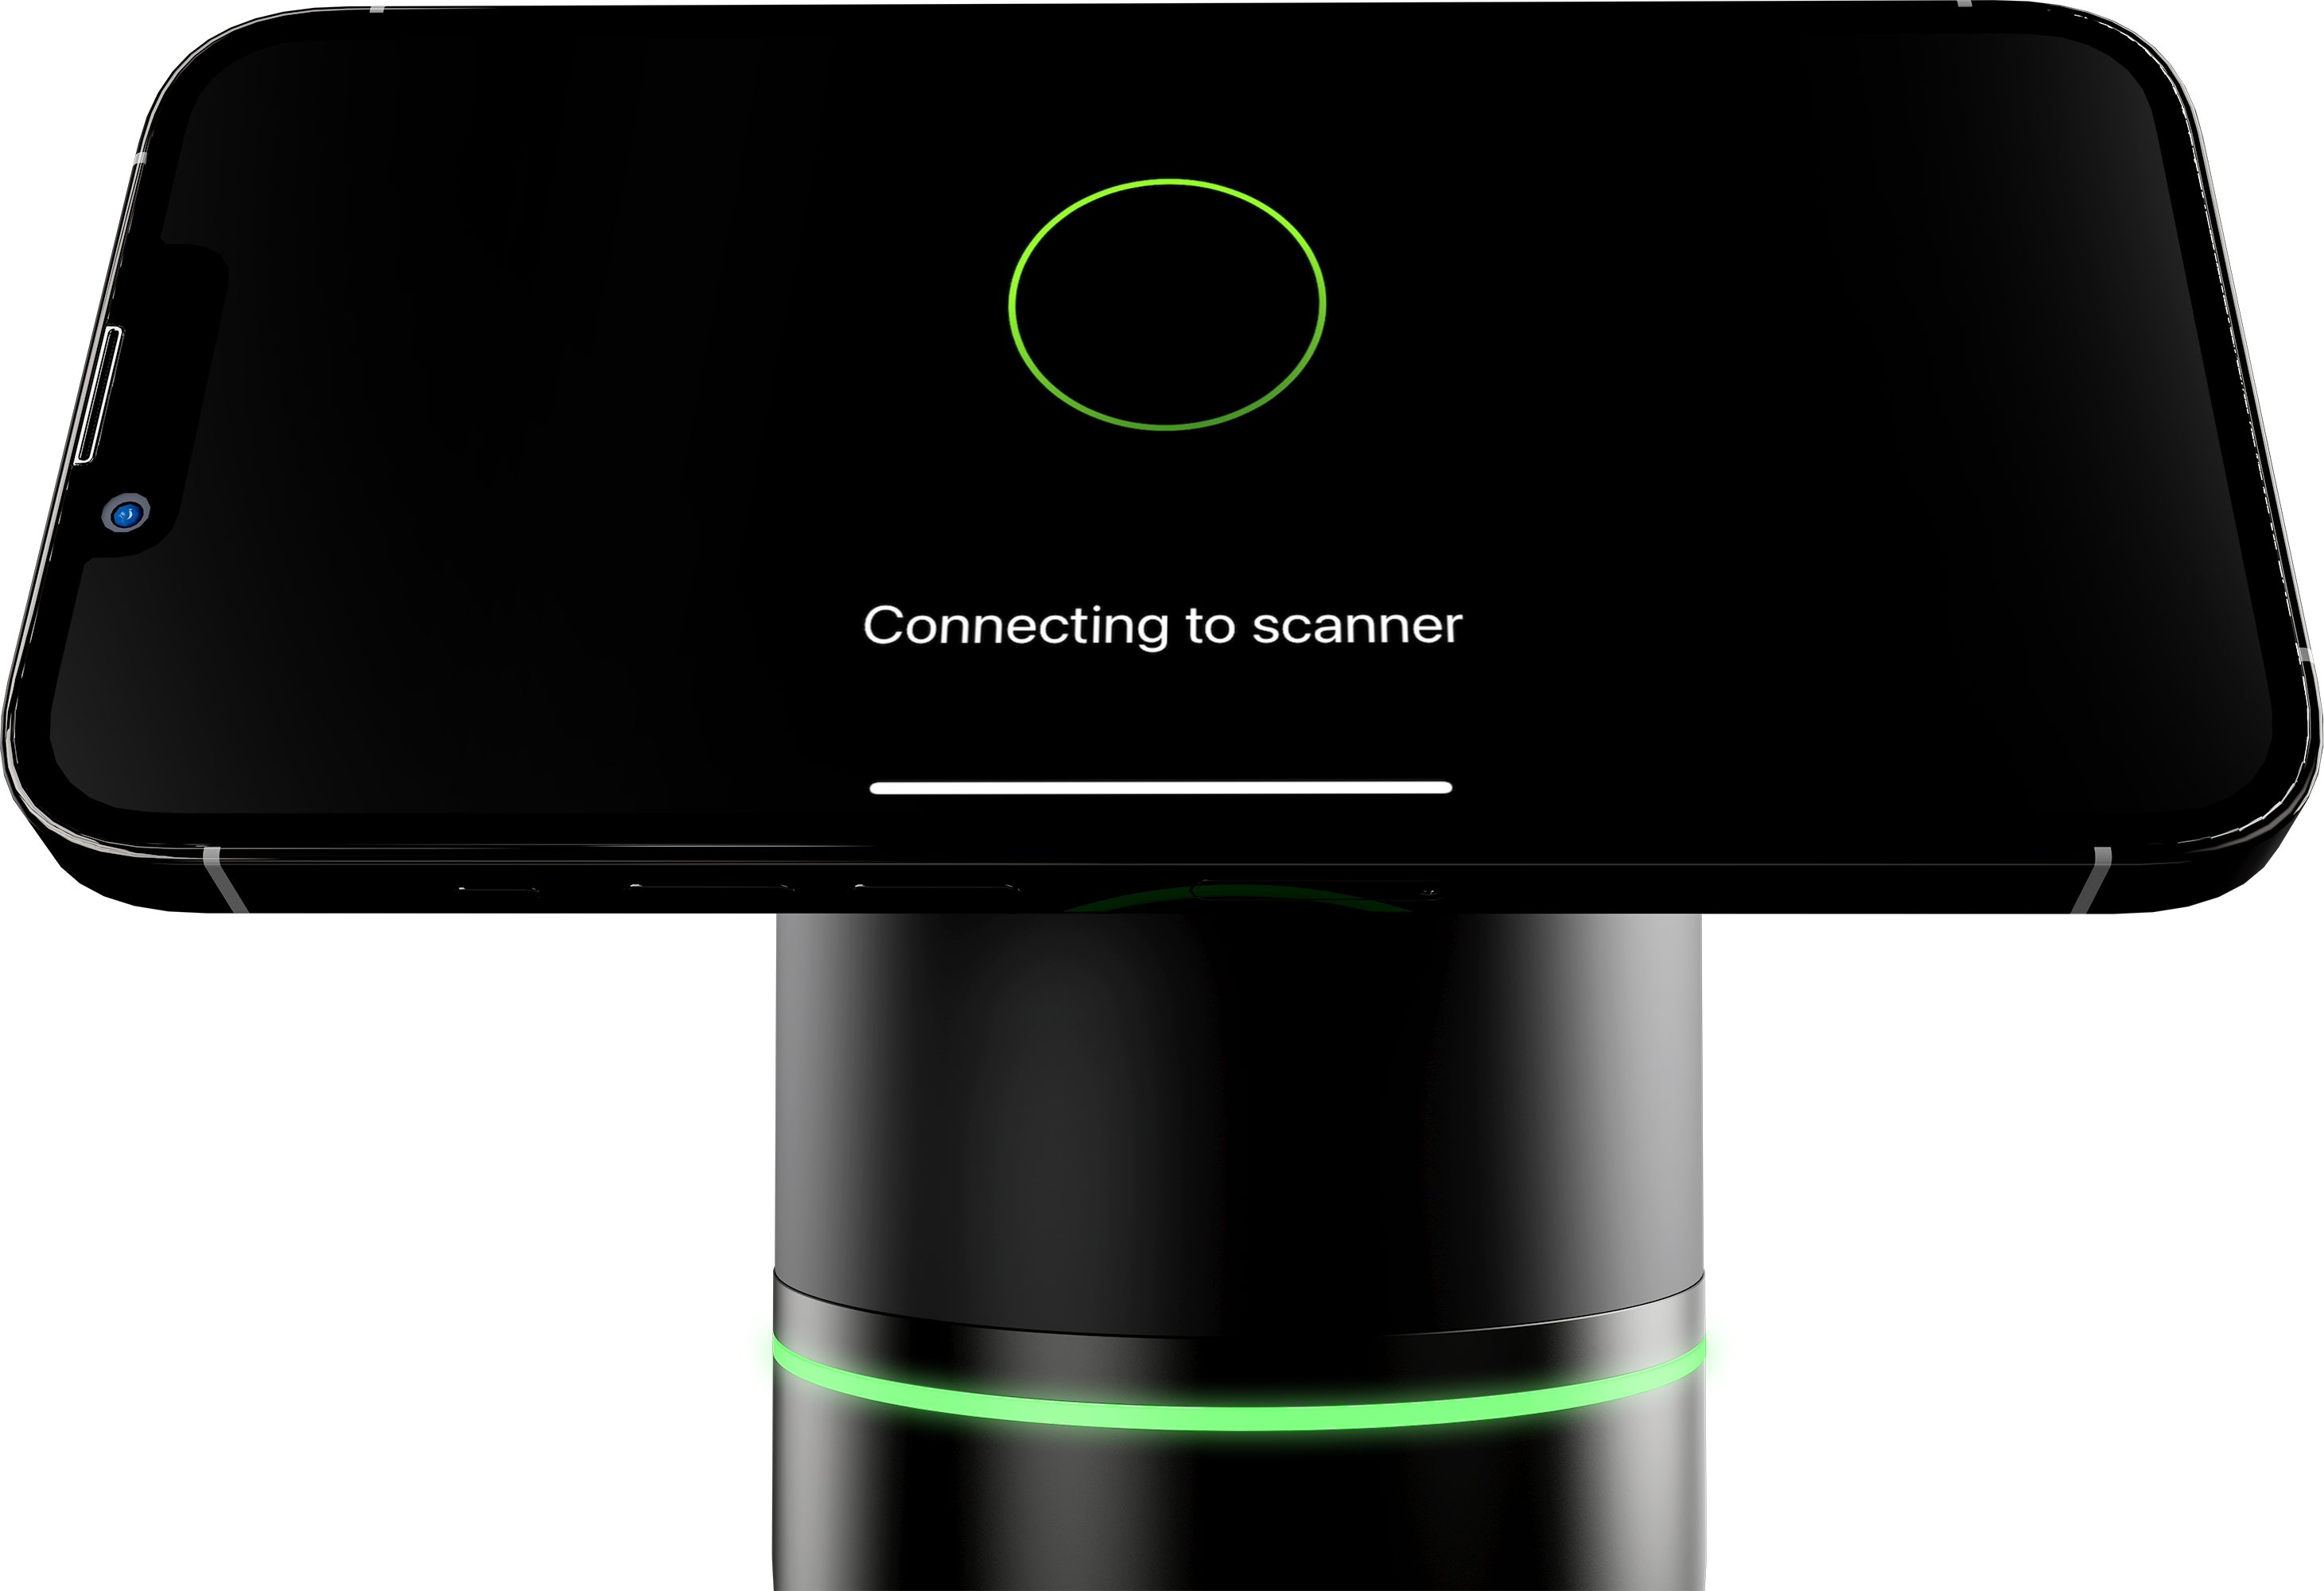
To make the most of your BLK2GO PULSE data capture, you’ll need to connect your scanner to the BLK Live app. There are two options for connecting the BLK2GO PULSE with the BLK Live app and Reality Cloud Studio, powered by HxDR, which is a cloud platform that provides in-field upload of data for automated processing, visualizing, and sharing in the cloud.
Choose the option that best suits your data needs, as well as your preference for using Reality Cloud Studio:
-
Online Connection: Connects the BLK2GO PULSE to the BLK Live app and to Reality Cloud Studio for upload of full .b2g data from the BLK2GO PULSE scanner directly to Reality Cloud Studio. This exports the most complete data possible.
-
Offline Connection: Connects the BLK2GO PULSE with the BLK Live app with no direct connection between the scanner and Reality Cloud Studio. You can still send data to Reality Cloud Studio as reduced .e57 files from the BLK Live app, not the scanner itself.
Also, make sure your BLK2GO PULSE is fully up to date. Check for any firmware updates through the BLK Live app to have your scanner working with the latest software upgrades, navigational improvements, smart scanning guidance, and more. Logging into the BLK Live app will show any new updates available; tap accept, and your BLK2GO PULSE will receive the OTA update(s) and start downloading.
Scanning
To initialize the scanner, press the button and hold the BLK2GO PULSE firmly in hand and walk forward steadily. When the LED ring on the device is pulsing green, the initialization process has finished. Remember, during the initialization process, no scan data is captured by the BLK2GO PULSE, and none of the data from the initialization process will be saved. So, as mentioned above, we recommend initializing an area you won’t need to scan.
With the BLK2GO PULSE powered on and initialized, it’s time to get to scanning. Keep in mind that, should you scan multiple paths, the BLK2GO PULSE needs to be initialized before every individual scan that you capture. Initialization is always the first step when scanning.
Time and Movement
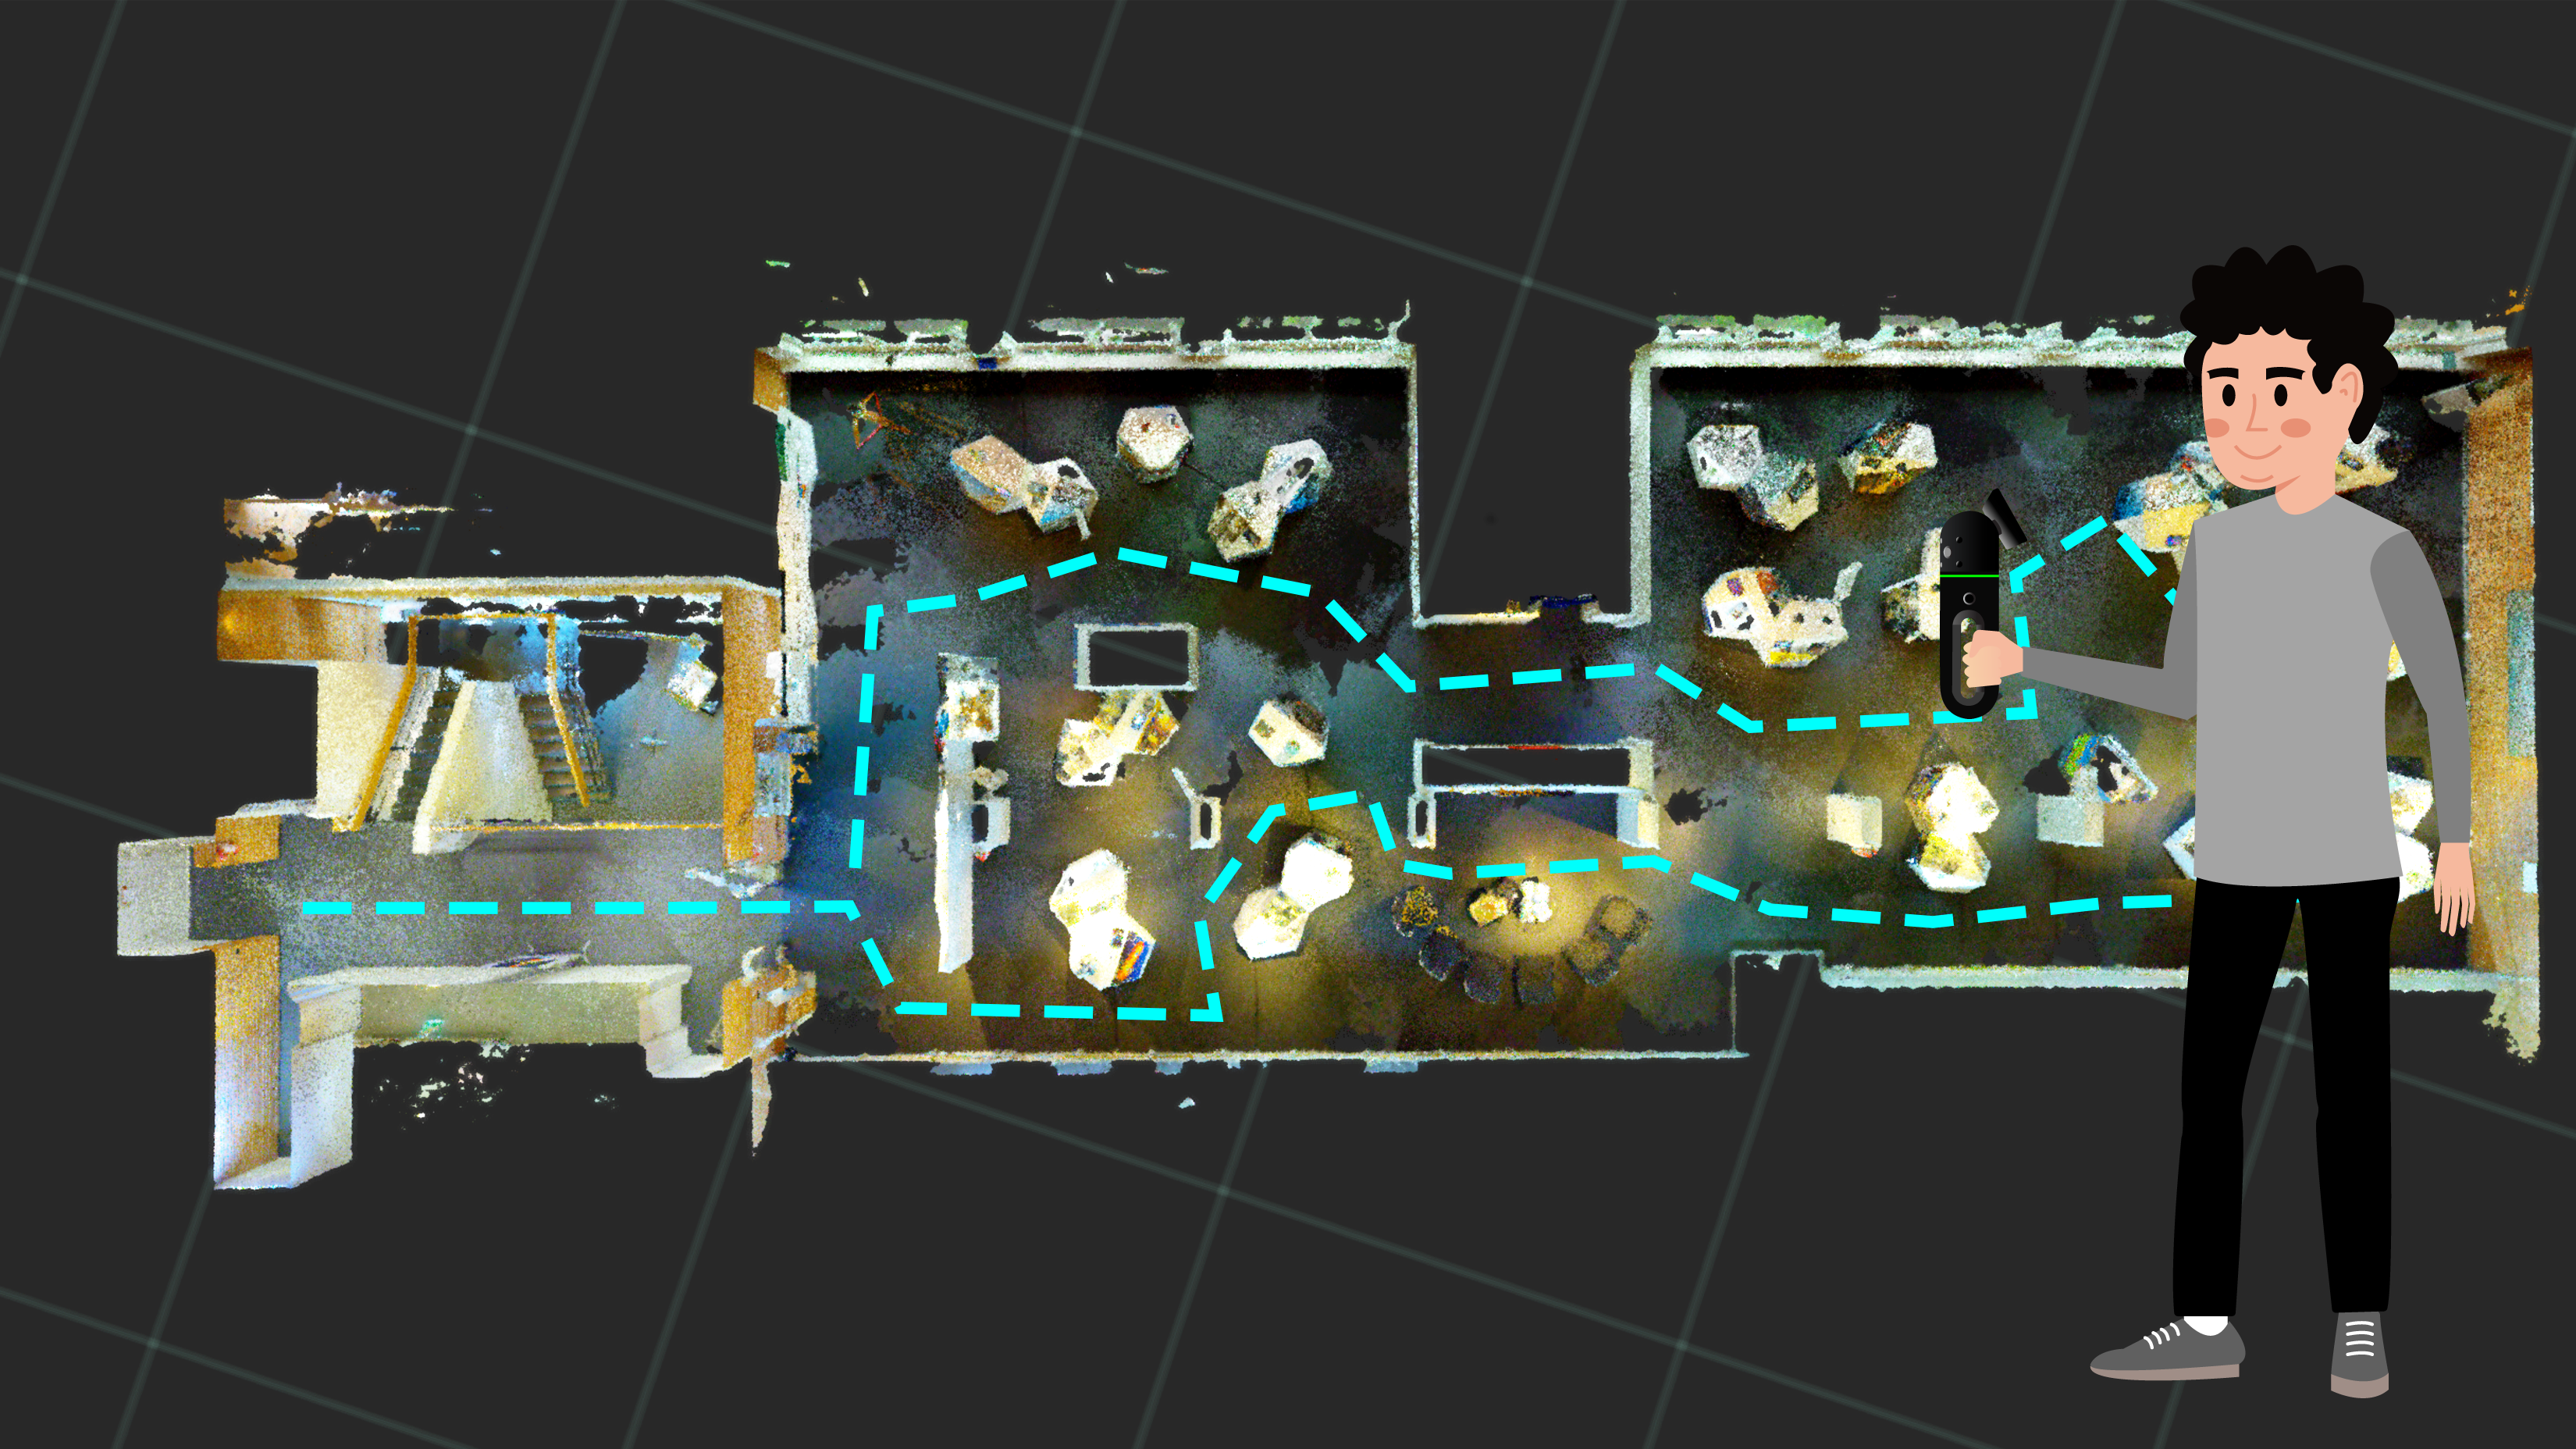
For complete captured scan data and optimal results, execute scans from beginning to end without returning to the starting point. In every room, we advise that you walk a small loop with the scanner to capture all necessary data before heading to your next area. While scanning with BLK2GO PULSE, use only small up or down movements to achieve complete coverage and avoid horizontal and vertical gaps in the data.
Scanning time with the BLK2GO PULSE shouldn’t exceed 10 minutes. With a planned scan path and preparation for potential obstacles, this should be doable. But suppose you need to scan a bigger area and execute more than one scan. In that case, we recommend making sure that each individual scan overlaps with adjacent scans by at least 40%.
With the BLK2GO PULSE, walk at a steady, natural speed and avoid fast turns or quick changes in direction. Generally, keep your movements calm and smooth. If you do encounter moments where you need to pivot quickly (e.g. avoiding moving objects), point the scanner in a different direction or area to avoid scan interruptions. Because of the BLK2GO PULSE’s field of view, it will still capture the area in front of it, and you can continue onwards.
Using the BLK Live app
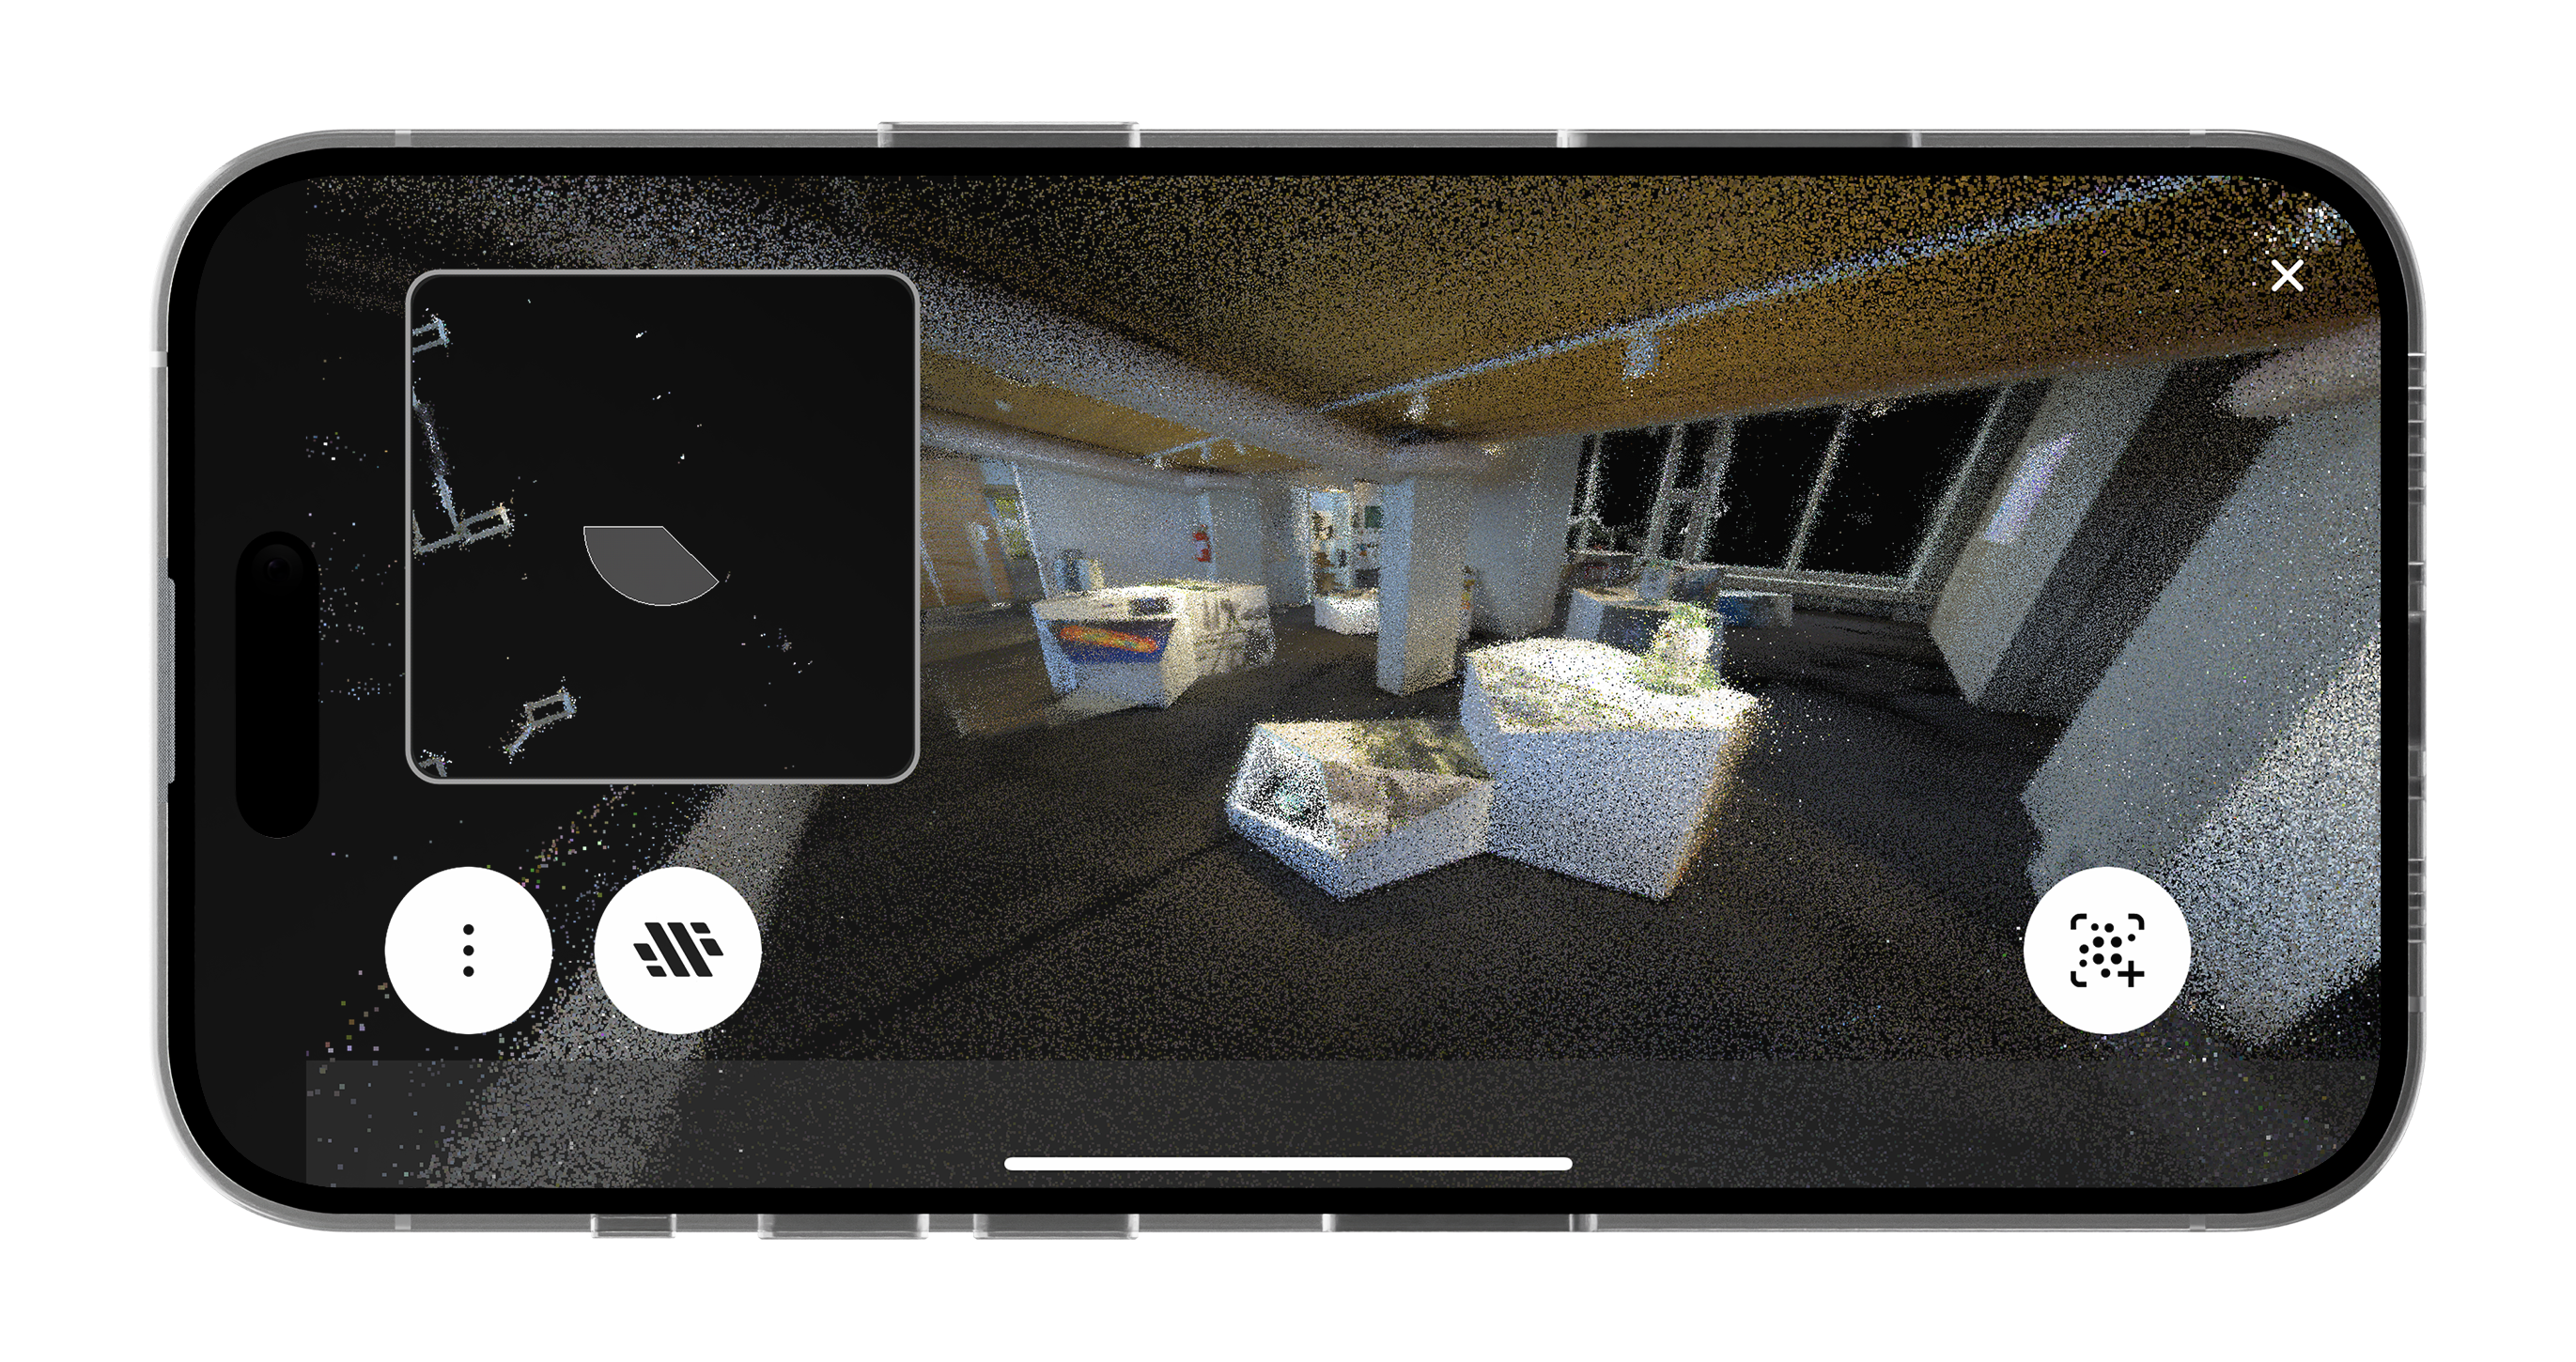
While scanning with your BLK2GO PULSE, the BLK Live app (which should be open on your smartphone, with your smartphone mounted on the scanner) is how you access the intuitive features and functionalities of the BLK2GO PULSE. It is how you perform first-person scanning and is essential to getting the best scanning experience.
Explore the BLK Live app for different view state options to gain different perspectives and scopes of your data while capturing. The default onscreen setting within the BLK Live app is an enlarged 3D first-person view and a smaller 2D top-down view. Pinch to zoom and enlarge whichever view you prefer or split the screen between both view states. Tap around to see which layout best suits your desired needs and preferences.
By monitoring 3D and 2D view states in real time, you can monitor your progress along your scan path and make sure that all data is completely captured. Observe the view states before, during, and after a scan’s completion by zooming in and panning the captured data directly in the BLK Live app to ensure scan quality.
Capture detail images
If you want to enrich your colorized 3D point clouds with high resolution images of objects or areas of interest, you can also take individual detail images with the BLK2GO PULSE during your scan to ensure you have all the needed details when you leave the site. Simply press the button once while scanning and you will take a photo of the scene in front of the scanner. This image will be displayed and geolocated in your captured 3D point clouds.
End your scan
To end your scan, simply press the “stop” button in the BLK Live app or hold the button on the BLK2GO PULSE for 3 seconds. This will stop data capture and the LED ring will change from pulsing green to solid green. Now you have your colorized and complete 3D point cloud available immediately!
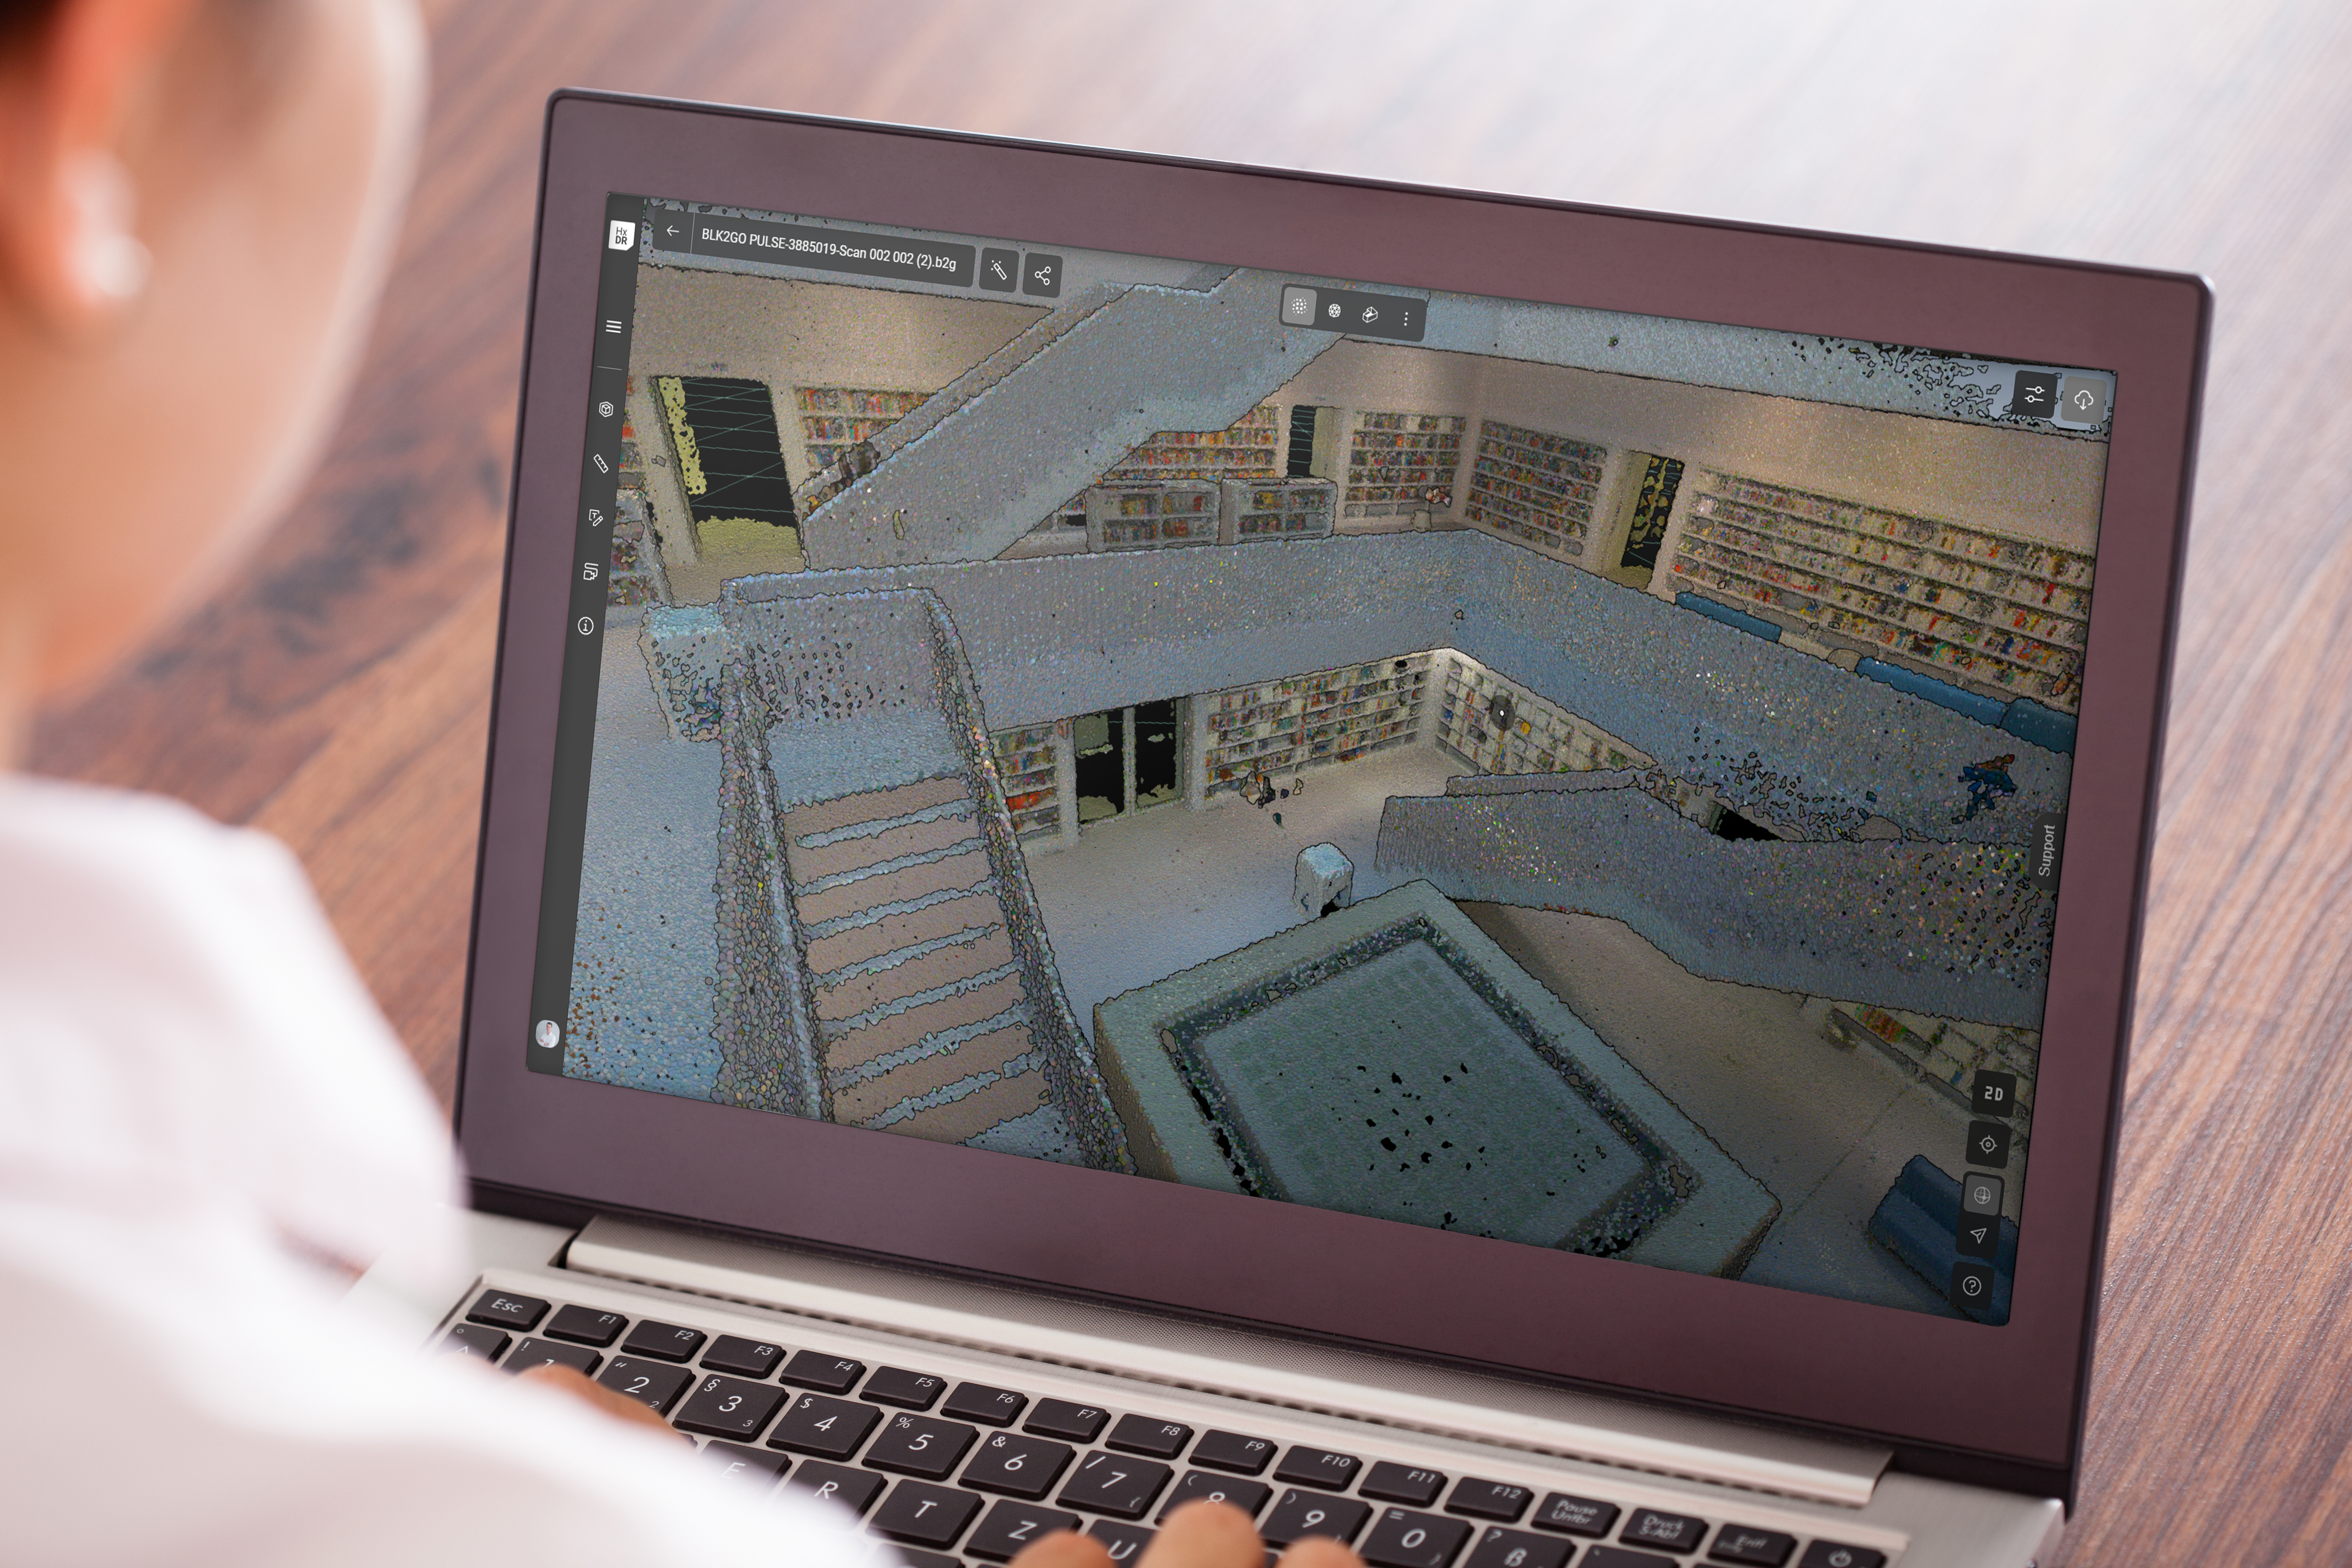
Working With Your Data
The final stage of your data capture has arrived! In the BLK Live app, you will see complete, colorized 3D point clouds that have been delivered instantly to your smartphone.
Now that you have the data you need, the BLK2GO PULSE workflow allows for multiple ways to work with your data.
-
In-field deliverables: For when you prefer quick data availability in the field. By using the export functionality of the BLK Live app, you can access your colorized point clouds, detail images, and scan trajectories directly on your computer. You can also share your data with anyone from the BLK Live app, which is as easy to do as sharing a video from your smartphone.
-
In-office deliverables: For working locally on your computer if you desire to use the full processing power of your devices. For advanced data editing and registration, we advise using the powerful functionalities of Leica Cyclone REGISTER 360 PLUS.
-
Cloud deliverables: For automated data processing in the cloud, you can upload captured data right away from the BLK Live app to Reality Cloud Studio. From there, you can perform automated registration and meshing, visualize your datasets, manage your projects, upload data, and share data with all stakeholders.
Experiment with the various options available to you with your new BLK2GO PULSE. Take a different approach with first-person scanning in the BLK Live app and take advantage of instant in-field deliverables – fully colorized point clouds, delivered to your smartphone, with no post-processing required. This is what enables you to choose your BLK2GO PULSE workflow and work with your data right away.
Whichever workflow you choose, we hope you’ll have fun scanning in first-person with the BLK2GO PULSE and capture all the data you need.
Interested in a BLK2GO PULSE?
Purchase one today or contact one of our laser scanning specialists to learn more.